HI EVERYONE!
Welcome back to 2-Bullet Tuesday, where we’ll share useful tips and awesome stuff sent in by Omega2 users all around the world. Check out creative projects and tutorials that will supercharge your IoT development!
Favorite Project
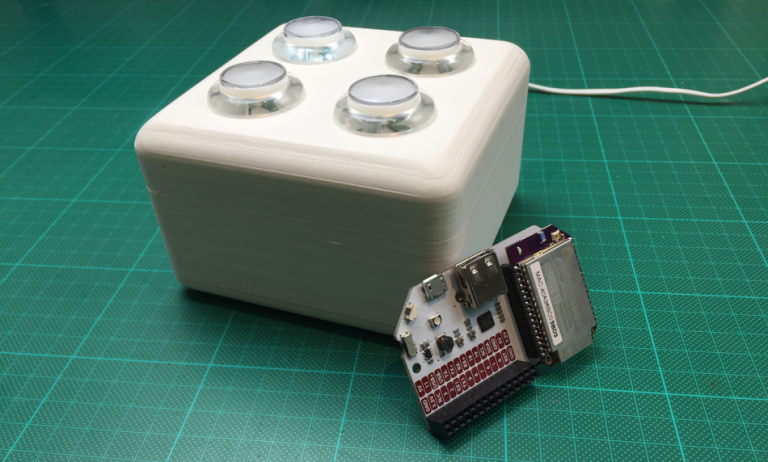
Our favorite project this week is an Omega2-powered IoT Control Box, created by Frederick Vandenbosch. Frederick filmed an awesome video on getting this project up and running from start to finish: from 3D printing the enclosure and assembling the buttons, to connecting the Omega to IFTTT. In the final product, each button triggers a different setting on a Phillips Hue smart lightbulb!
Frederick’s tutorial shows step-by-step instructions you can follow to create your very own Control Box. This is a really great starting point if you’re interested in working with IFTTT and the Omega2, since the existing Python code allows you to throw in your own modifications to add hardware or control different devices with IFTTT.
Great work, Frederick!
Omega Tip
Pushing Sensor Data to AWS IoT
Last week we showed you how to super easily connect your Omega to an AWS IoT Thing. This week, we’re gonna take the next logical step, and show you how to push sensor readings to AWS IoT at an interval. This is one of the main use-cases of AWS IoT and we just know this tip will inspire many great IoT projects.
Our sensor of choice is a 1-Wire temperature probe, so this tip will cover how to wire up the sensor, configure the Omega to register the sensor at boot, and set up a script to publish the sensor readings to AWS IoT. Let’s dive in, shall we?
Ingredients
You’ll need the following
- Omega2 or Omega2+
- Any Dock with an Expansion Header
- DS18B20 1-wire temperature sensor
- 4.7kΩ resistor
- A breadboard
- Jumper wires
- A dash of time
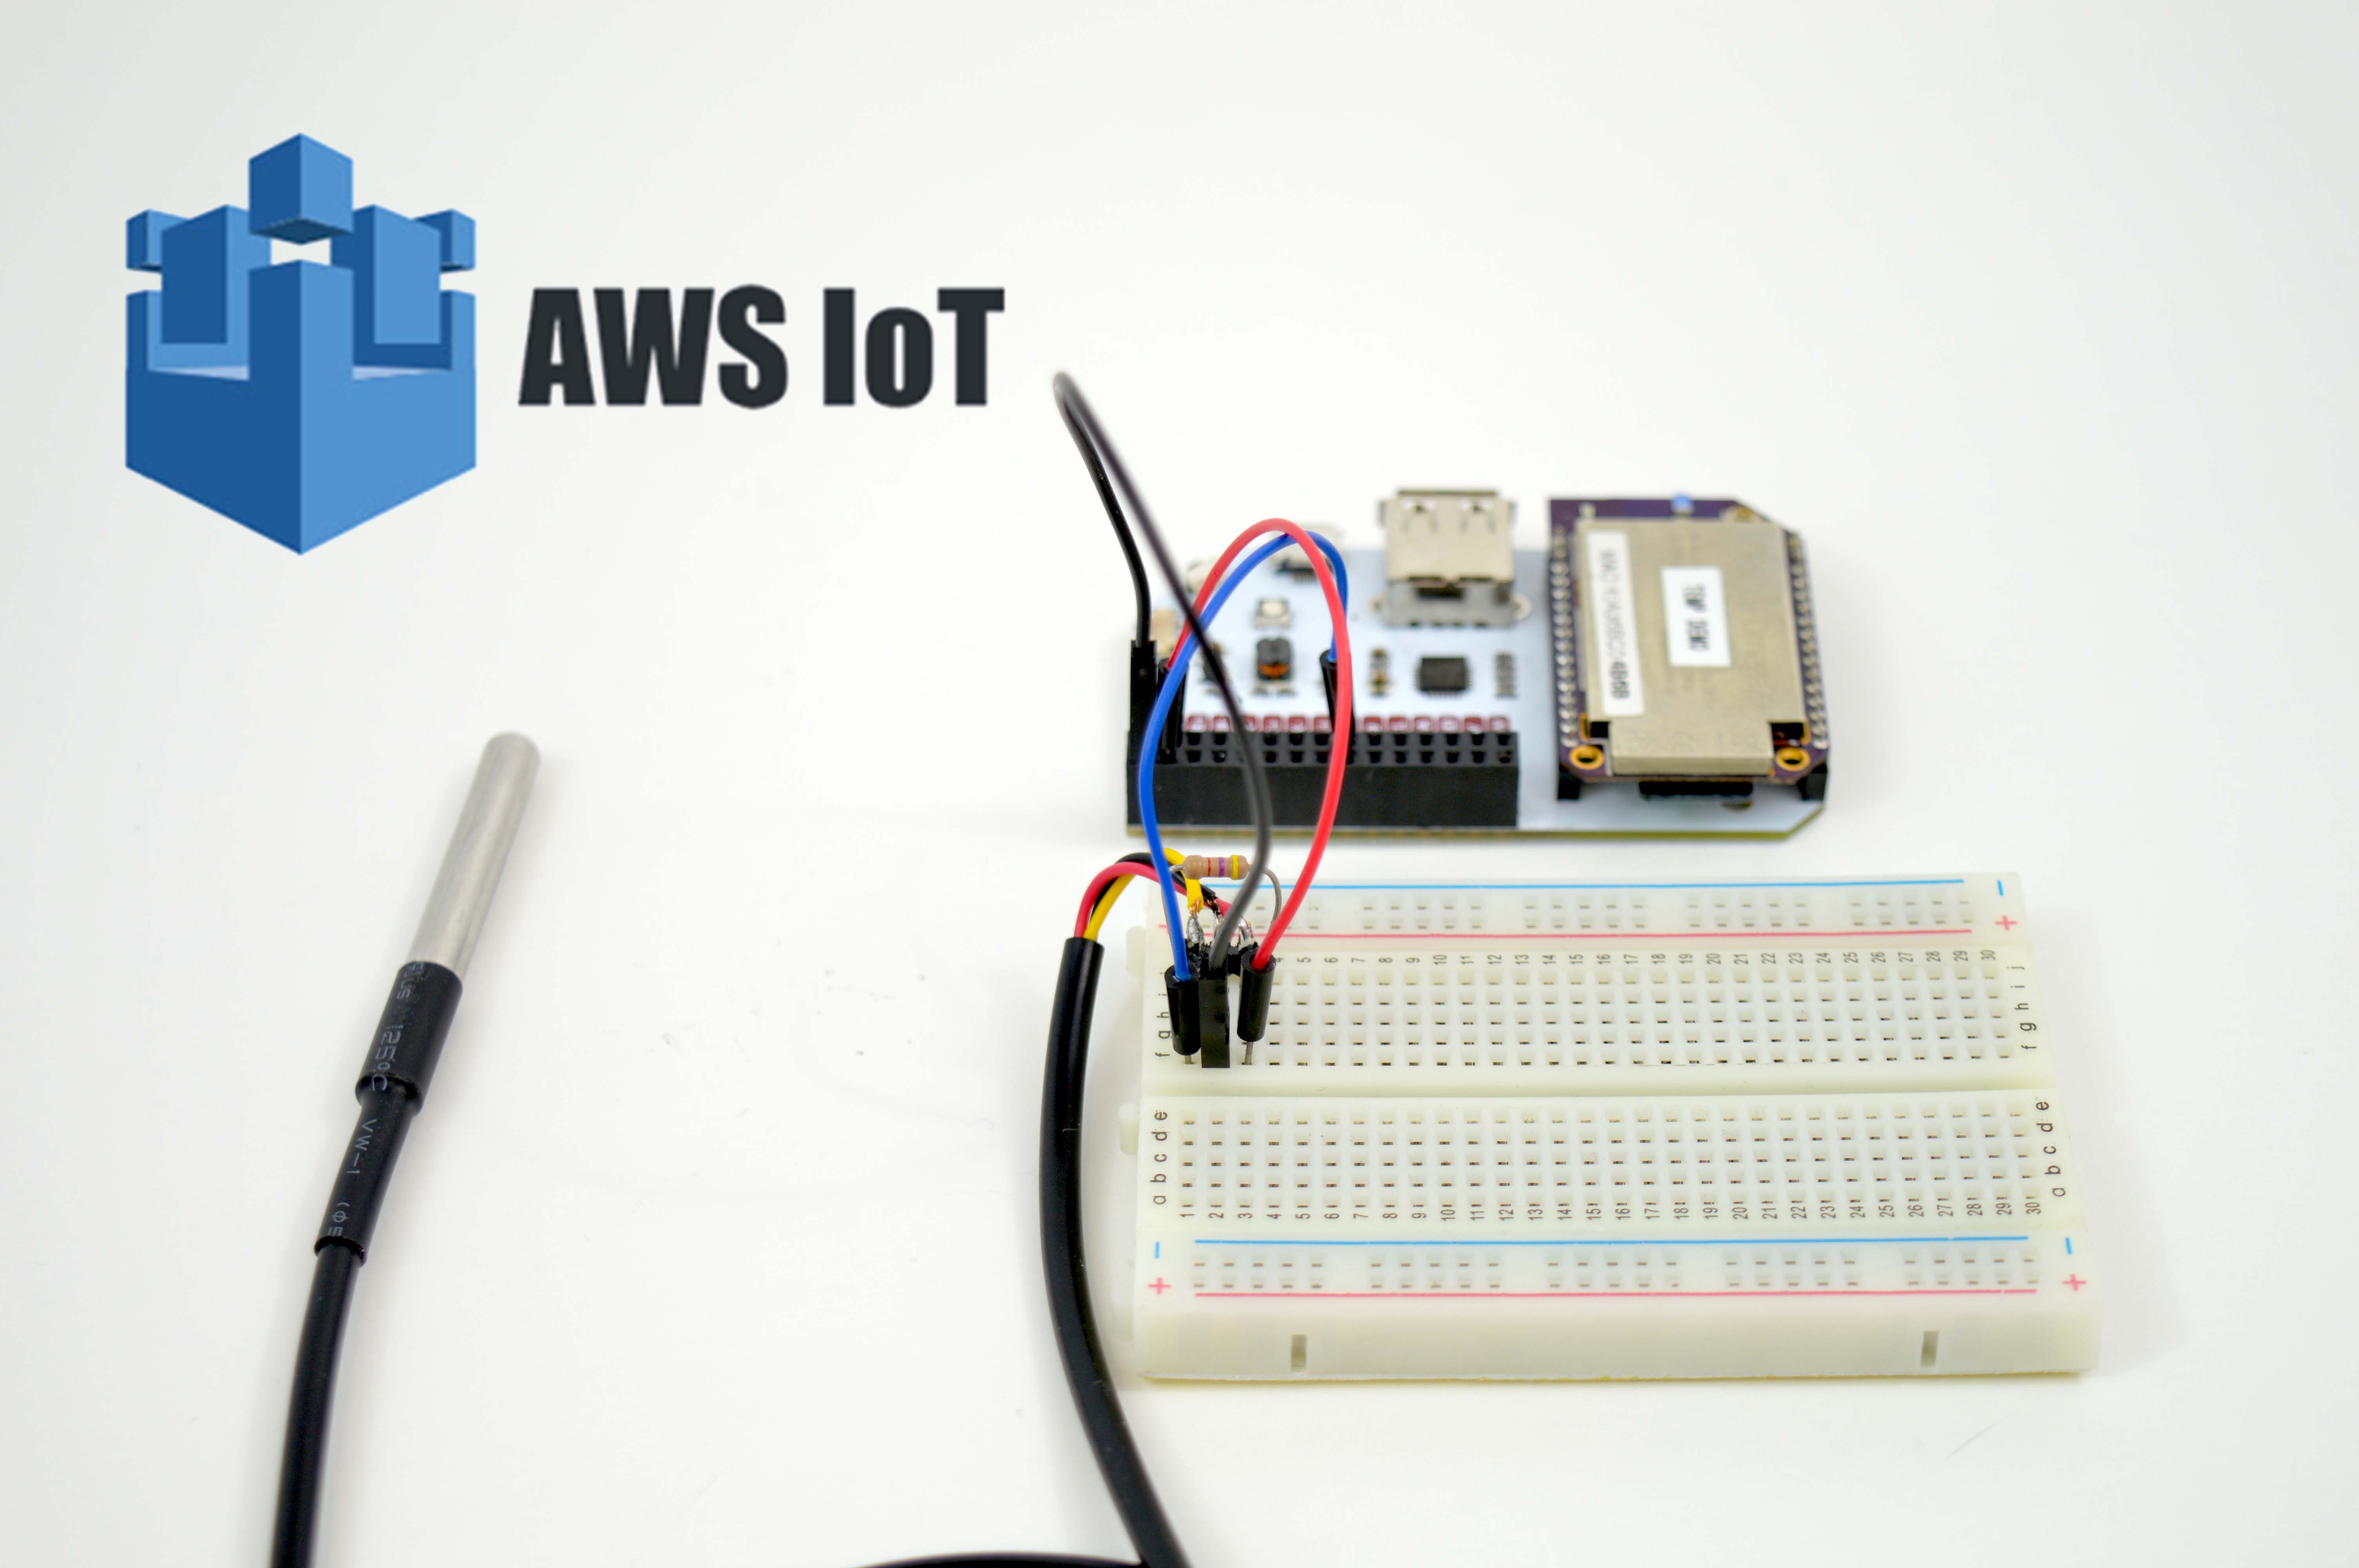
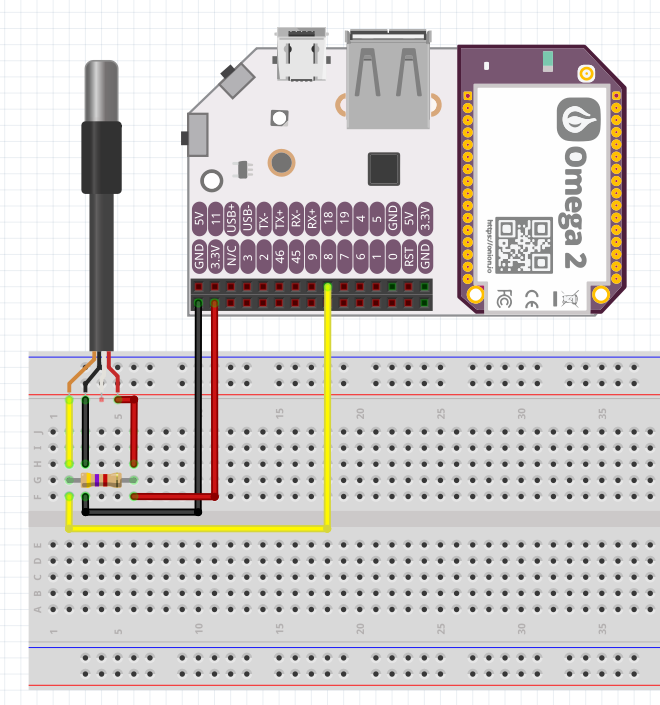
Hardware
A pretty quick and easy setup of the hardware, we’ll be making the following connections:
- Connect the sensor’s Ground (Black wire) to GND on the Omega
- Pull-up resistor: connect the sensor’s Vcc (red wire) and Data line (yellow wire) with the resistor
- Connect the sensor’s Data line (yellow wire) to GPIO18 on the Omega
- Connect the sensor’s Vcc (red wire) to 3.3V on the Omega
See our 2-Bullet Tuesday tip on using a 1-Wire temperature sensor for more details on 1-wire sensors.
Sensor Setup
Ok, moving on to the software. All of the relevant code can be found in our aws-temperature-sensor repo on GitHub.
To start, we’ll setup our Omega to automatically configure a 1-wire bus master on GPIO18 (where we’ve plugged in our temperature sensor) at boot time. We’ll do that by adding a file to /etc/modules.d. While the Omega is booting, it will look at that directory for kernel modules that should be loaded before the boot process is completed.
So let’s make /etc/modules.d/w1-gpio-custom and populate it with the following:
w1-gpio-custom bus0=0,18,0Now reboot your Omega, and if everything went as it should, there should be a /sys/devices/w1_bus_master1/ directory.
Prerequisite: In order to be able to publish temperature readings to AWS IoT, your Omega will need to be provisioned to connect to a Thing on AWS IoT. Luckily, last week’s 2-Bullet Tuesday tip was a single command to do just that! Follow the guide and configure your Omega as a Thing on AWS IoT.
Scripting
Next we’ll need a script that will:
- Read the sensor and format the output
- Generate an AWS IoT-compatible JSON string
- Finally, use MQTT to update the AWS IoT Thing’s shadow
(See last week’s tip if any of the above sounded unfamiliar)
We’ll run the following command to download the script:
cd /root; wget https://raw.githubusercontent.com/OnionIoT/aws-temperature-sensor/master/publishReading.sh
To run the script, you’ll need to specify your ‘Thing’ name as a command line argument. So if your Thing is named Omega-27BF, the script would be called like this:
sh publishReading.sh Omega-27BF
If you’re interested in learning how the script works, take a look at the code on GitHub.
Automating the Push
Finally, let’s setup a cron job to run this script to publish the temperature reading to AWS IoT every 5 minutes: run crontab -e and paste in the following but replace [THING NAME] with your actual Thing name:
#
*/5 * * * * sh /root/publishReading.sh [THING NAME]
#
Restart the cron daemon, /etc/init.d/cron restart and you’re up and running!
Your Omega is sending the sensor reading to AWS every 5 minutes, opening the door to some pretty awesome stuff on the AWS side. Stay tuned, next week we’ll explore some of that awesome AWS stuff!
To learn more about Omega2 and AWS connectivity, please follow these tutorials: