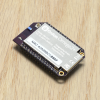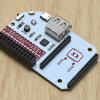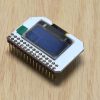
While the Omega itself is a fully fledged computer with memory, storage, and an operating system, most interactions with it require an additional computer, whether it’s to access the command line or OnionOS. This is fine for a single Omega every once in a while, but it can become tedious when you just need to grab a single datapoint or do a repeated set of actions on multiple Omegas – just imagine connecting 100 Omegas to a WiFi network one at a time.
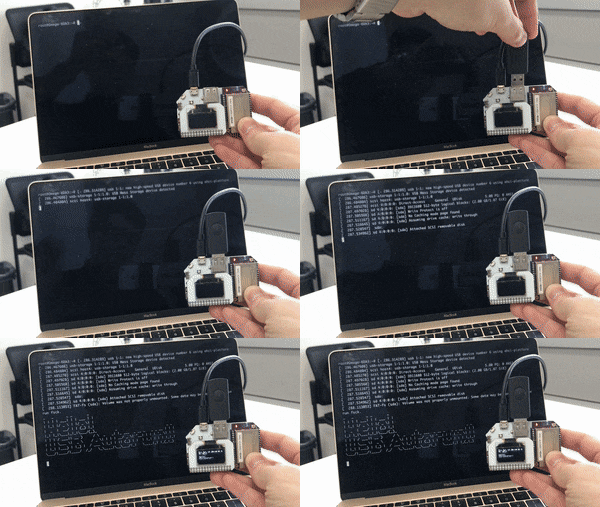
Well, that’s no longer an issue thanks to the Omega’s new USB drive auto-run capabilities. If the USB drive holds a (correctly configured) auto-run script, the Omega will automatically execute the script immediately after the drive is plugged in.
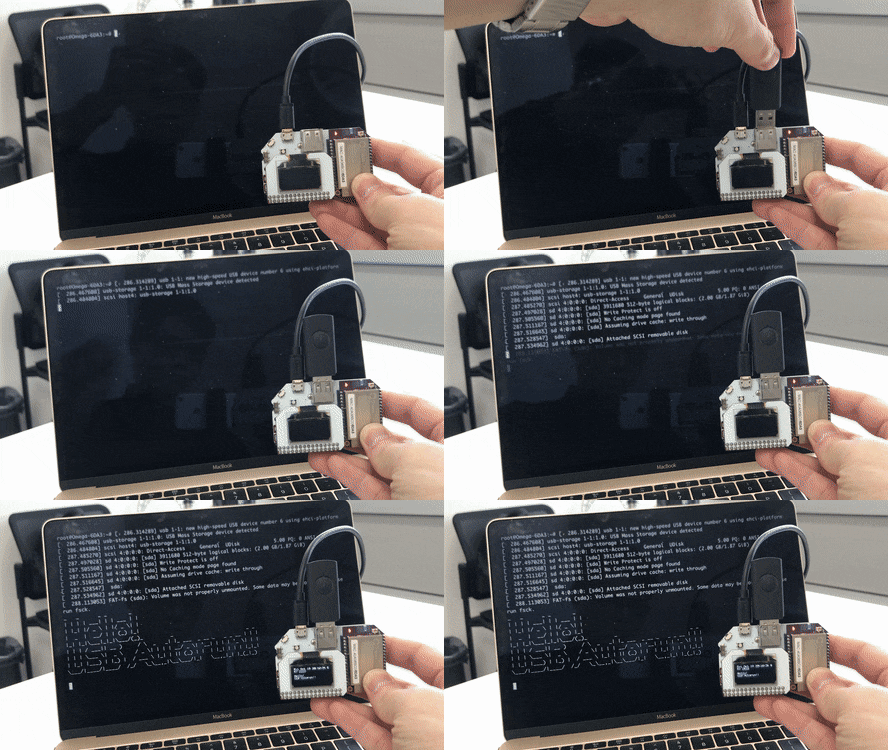
Essentially, USB auto-run provides a headless (no other computer required) and quick way to get what you need done. All you need is a USB drive and an auto-run script that you can write yourself, giving you unlimited flexibility.
What’s great about this is that regular USB usage still works; the USB drive will be automatically mounted and can be used just like before. This goes for both regular USB drives and those configured for auto-run.
Let’s dive in so you see how it works.
What you’ll Need
- USB Drive
Getting your Omega Ready
To support USB auto-run, your Omega must be on firmware v0.2.1 b199 or higher. To upgrade to the latest firmware, connect to the command line and run the following command:
oupgrade
Warning: When an upgrade is performed, only the
/rootand/etcfolders are preserved. It is important to backup your files on the Omega prior to upgrading if you don’t want to lose any of your work. See our guide on updating the Omega for more details.
After the update, your Omega will be equipped to handle USB drives configured for auto-run!
Configuring a USB Drive for Auto-Run
To configure a USB drive for auto-run, you’ll just need to create and populate two files on the drive: a credentials file and an auto-run script file.
The Credentials File
The credentials file is a security mechanism to ensure only authorized users can make use of USB auto-run (we thought it would be a pretty bad idea if just any script would auto-run). The credentials file must be named auth.txt and must be on the root directory of the USB drive.
It has to hold the username and password for the Omega the USB drive is intended to be used with. For an Omega with the default credentials, where the username is root and the password is onioneer, the file would look like this:
root
onioneer
And that’s it!
If the credentials file is missing, or if the password is incorrect, the auto-run script will not run!
The Auto-Run Script
The auto-run script is the shell script that will automatically execute when the USB drive is plugged in. The auto-run script must be named autorun.sh and must be on the root directory of the USB drive. As for the contents of the script, that’s up to you!
Since the auto-run script resides on the USB drive, you can have unique scripts on different USB drives, depending on what you want to accomplish. It’s also possible to have several USB drives that are meant to be used in sequence!
Troubleshooting
A few cases where the auto-run script will not work:
- The credentials file is missing or not properly named
- The credentials file holds incorrect credentials
- The auto-run script is missing or not properly named
- The auto-run script has a syntax error
Auto-Run in Action
When a USB drive is setup for auto-run, all you need to do is plug it into the Omega’s USB host port and the Omega will take care of the rest.
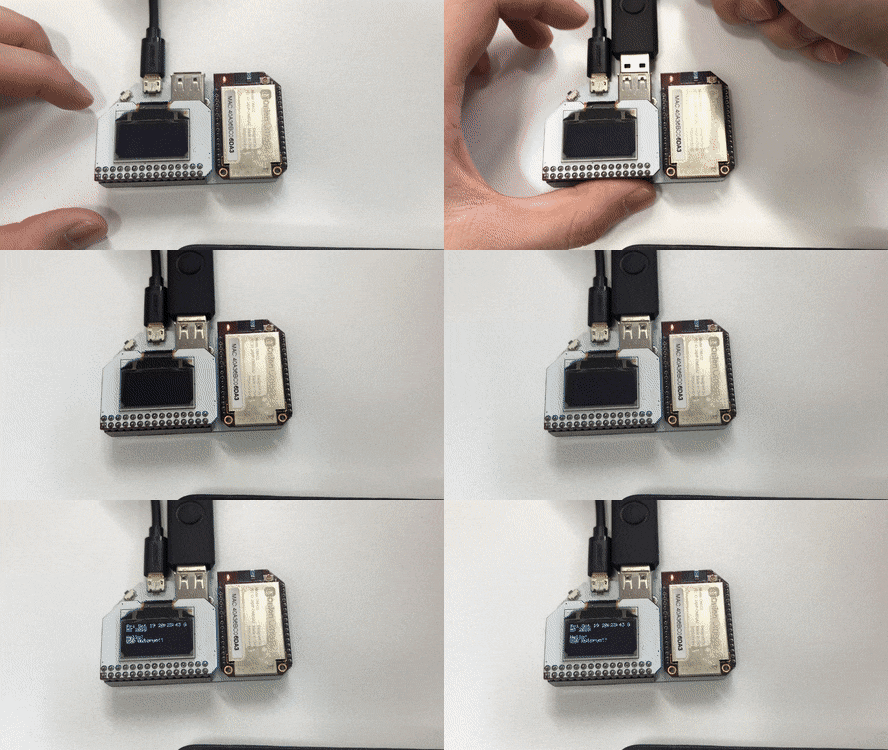
When the Omega detects the presence of an auto-run script, it will start blinking its LED. When the auto-run script finishes executing, the LED will go back to being on.
Here is the autorun.sh code from the above example:
Don’t forget to populate auth.txt with your Omega’s credentials.
Ideas to Get You Started
A few ideas for how you can use USB auto-run to automate interactions with your Omega(s):
- Configuring a bunch of Omegas to connect to a wifi network and then install a certain set of packages
- See an example script that does just this on GitHub!
- Act as a trigger to run a program or a script
- Configuring an Omega to run a specific program – for example, install Python, clone a Git repo, and then configure the Omega to run a program from the repo on startup
- Transfer collected sensor readings/photos/assorted data from the Omega’s filesystem to the USB drive
- Flash the Omega with a firmware that’s on the USB drive
- WARNING: Only do this if you’re confident in your abilities!
- We recommend copying the firmware to the
/tmpdirectory before flashing it
Happy auto-running!

