Congratulations on being the owner of a brand new SparkFun Qwiic Starter Kit for Onion Omega. With this kit, you have everything you need to get started with three awesome Qwiic sensors with the Omega, and visualize the sensor data in your browser with OnionOS. Isn’t it exciting to be able to harness the modularity of the SparkFun Qwiic family of sensors using your Omega2 IoT computer?
In case you’re not familiar with SparkFun’s Qwiic Connect System, it’s a cable and connector standard made by SparkFun to make it easy, painless, and worry-free to connect I2C-based devices. We recommend reading SparkFun’s Qwiic guide for more details.
This getting started guide will take about 15 minutes and, when you’re done, you’ll know how to work with the hardware and get real-time readings from each of the sensors in your browser!
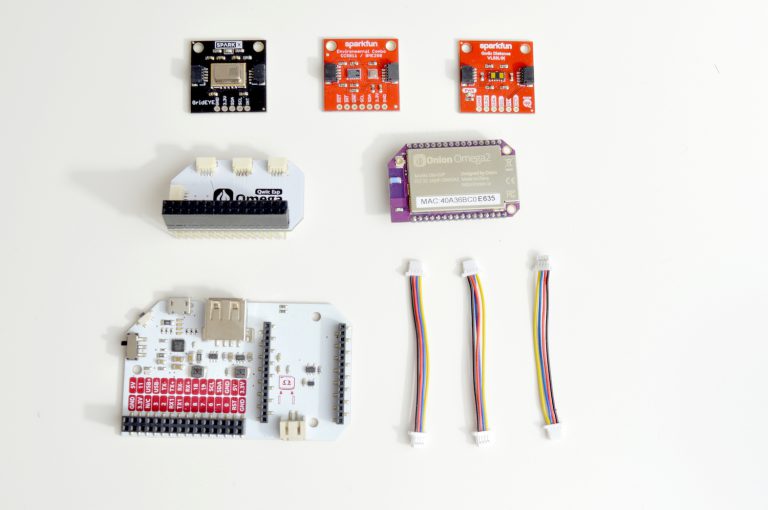
What’s in the Box
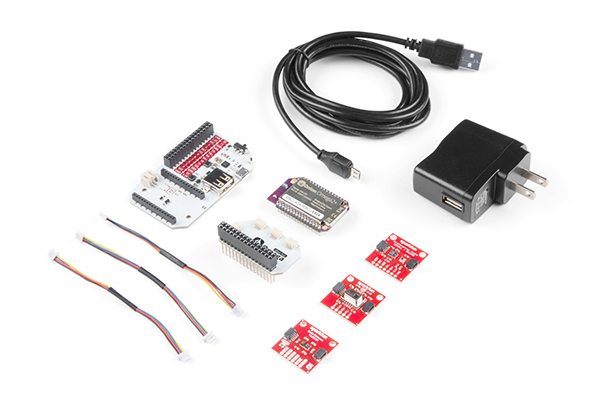
- Onion
- Omega2+
- Power Dock 2
- Qwiic Expansion
- SparkFun
- Distance Sensor Qwiic Breakout – 4 Meter, VL53L1X
- Grid-EYE Infrared Array Qwiic Breakout – AMG8833
- Environmental Combo Qwiic Breakout – CCS811/BME280
- Qwiic Cable Kit
- Accessories
- Micro-USB Cable
- USB Wall Charger
Putting it All Together
Let’s start small, plug the Omega2+ into the Power Dock:
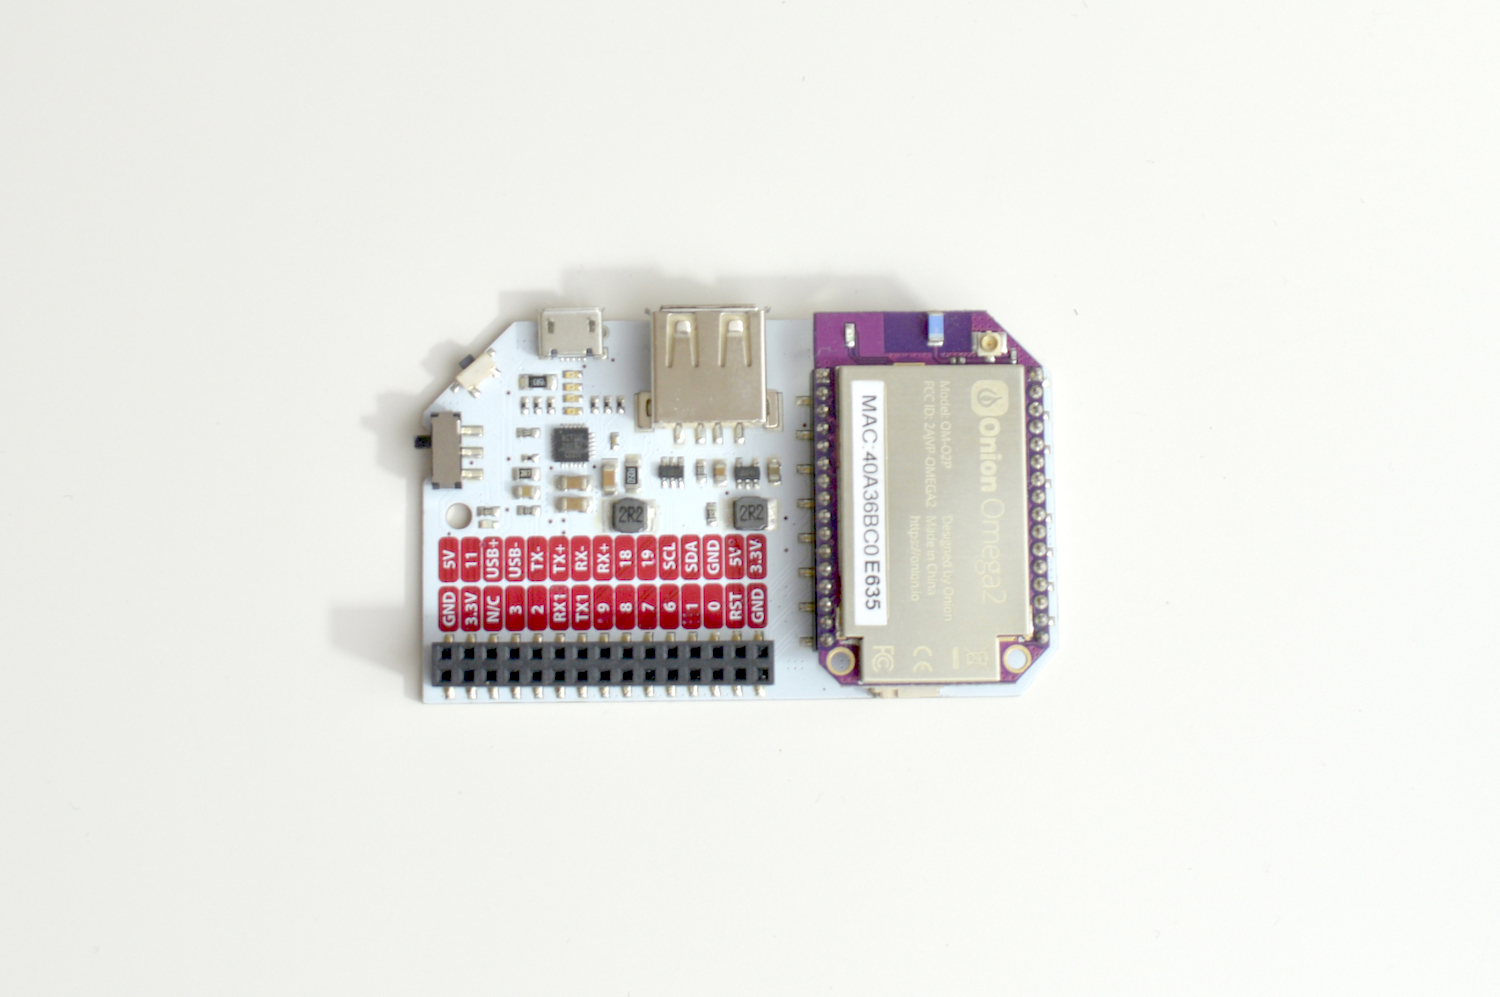
Then plug the Qwiic Expansion into the Expansion header on the Power Dock:
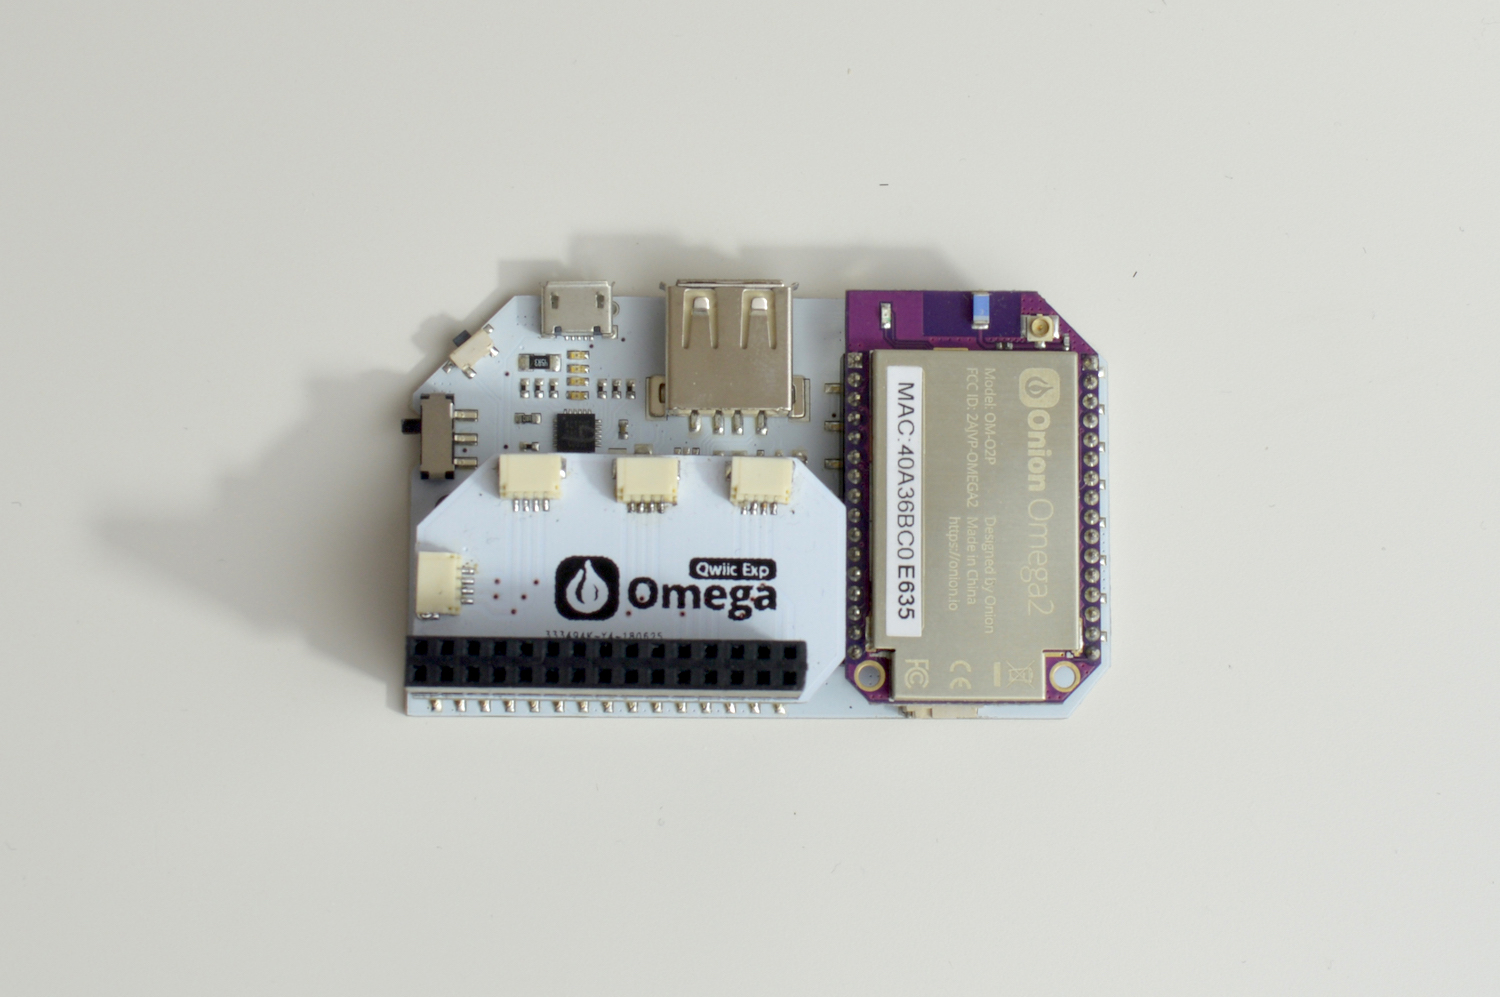
The Onion Qwiic Expansion has four Qwiic connectors, all connected to the Omega’s I2C bus, allowing you to quickly and easily make use of any boards equipped with a Qwiic connector.
From there, you can use the Qwiic cables to connect the Sensors to the Omega with the Qwiic Expansion. The connectors are polarized and will guarantee that everything is wired correctly.
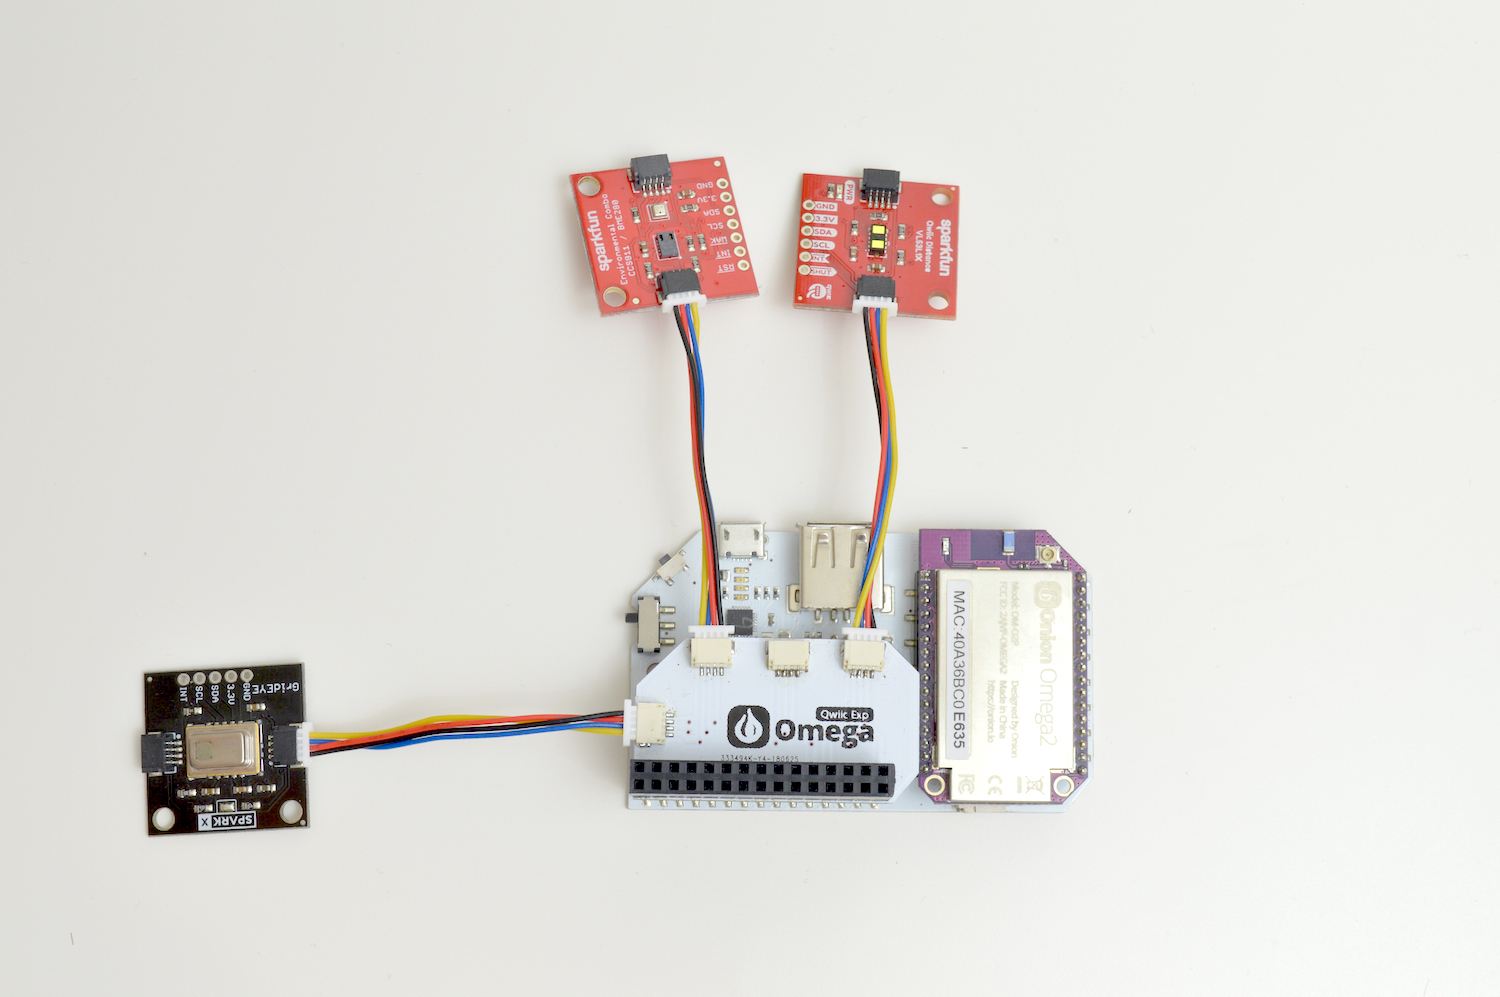
Note: the pictured Grid-EYE Sensor is black, but your kit will contain a red Grid-EYE sensor
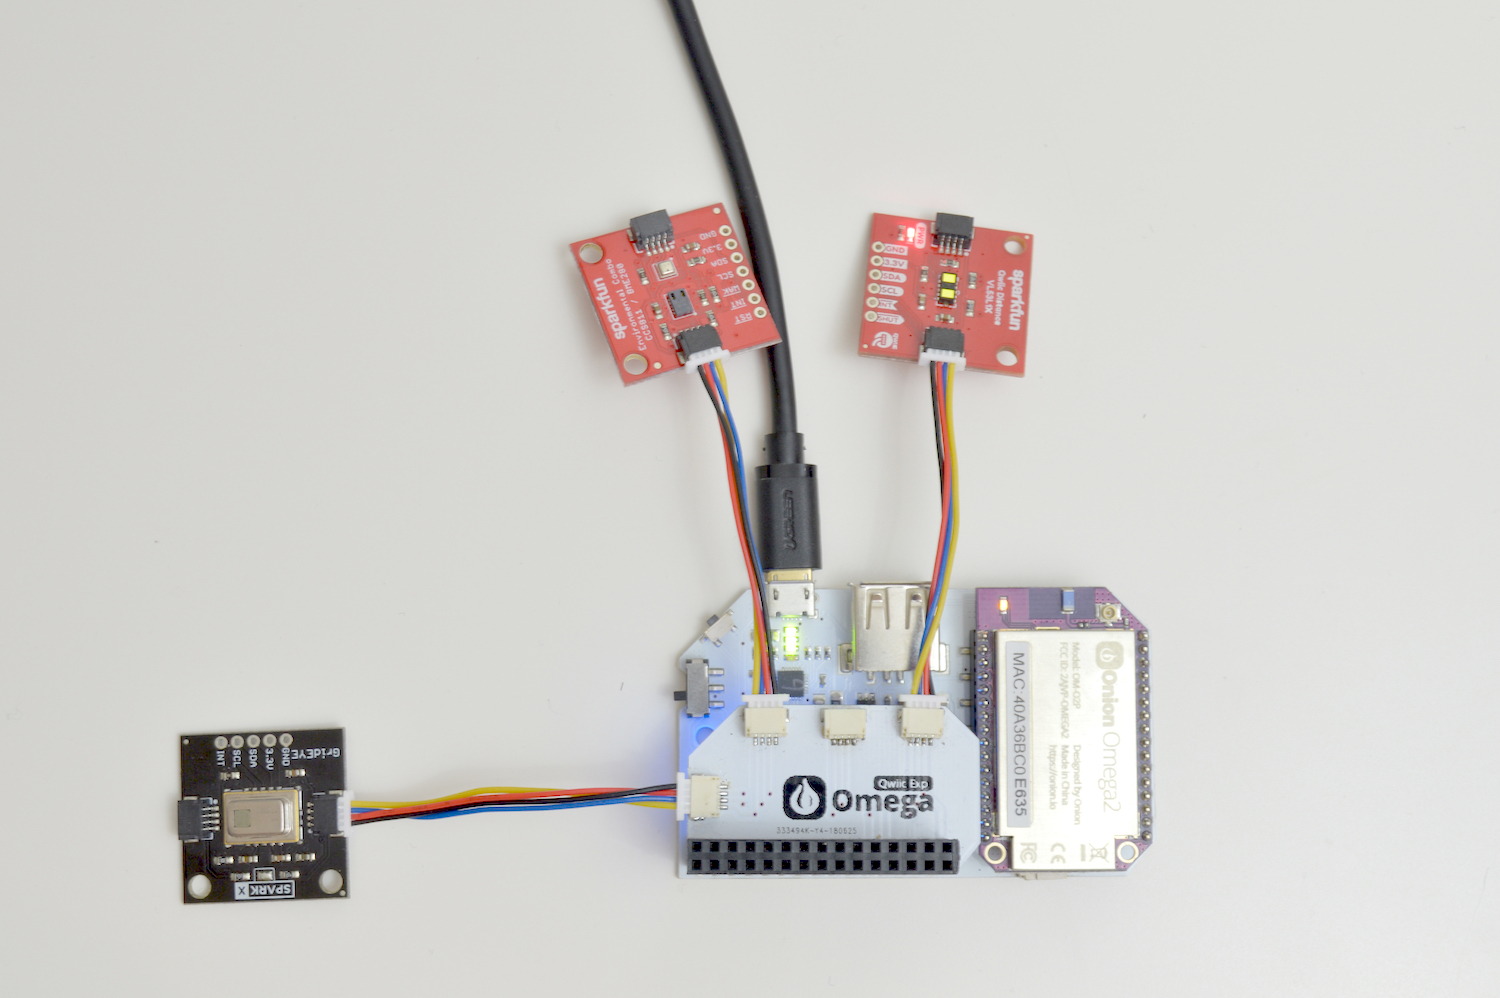
Take advantage of the two Qwiic connectors on each sensor board to daisy chain your sensors if you have space constraints:
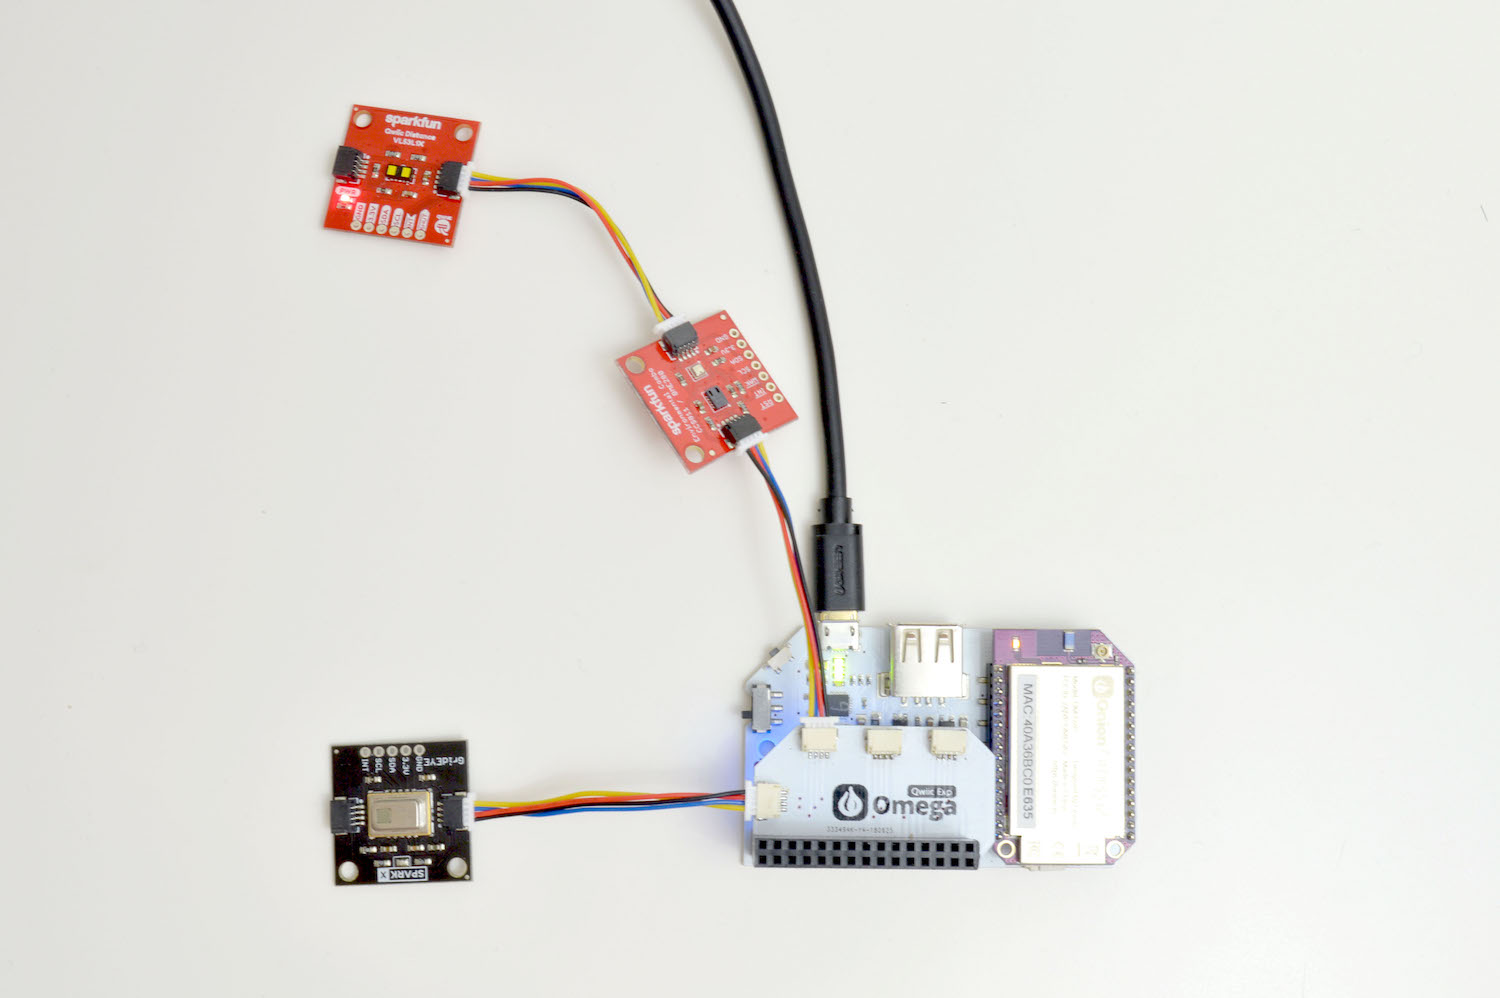
Ok, let’s provide power to fire up the Omega and read our sensors. Plug the USB Wall charger into the wall and the Micro-USB cable into the Omega.
Using the Kit
Now that we have a handle on the hardware, let’s move on to using the sensors and getting real-time readings in your browser with OnionOS
OnionOS is a web-based, graphical user interface for the Omega2 family that runs on the Omega and gives you access to a number of apps that allow you to interact with your Omega in a more visual way than the command-line. More on that in a bit!
Setting up the Omega
To start, you’ll need to connect the Omega to your WiFi network and update it to the latest available firmware. Follow our Omega2 first time setup guide for all of the steps in detail. If you run into any issues, try doing the first time setup using the command line.
If you already have your Omega up and running, just make sure you’re on the latest firmware by running the following on the command line:
oupgrade
Warning: When an upgrade is performed, only the
/rootand/etcfolders are preserved. It is important to backup your files on the Omega prior to upgrading if you don’t want to lose any of your work.
Getting to OnionOS
Once you’ve installed the latest firmware, your Omega will be running OnionOS! Since OnionOS is hosted on your Omega, you’ll need to make sure your Omega is on the same network as your computer (it should be if you followed the get started guide from above) and then you can point your browser to http://omega-XXXX.local/, where XXXX are the last four digits from your Omega’s sticker.
If you’re curious, learn more about the Omega’s sticker here.
You’ll be presented with a login screen:
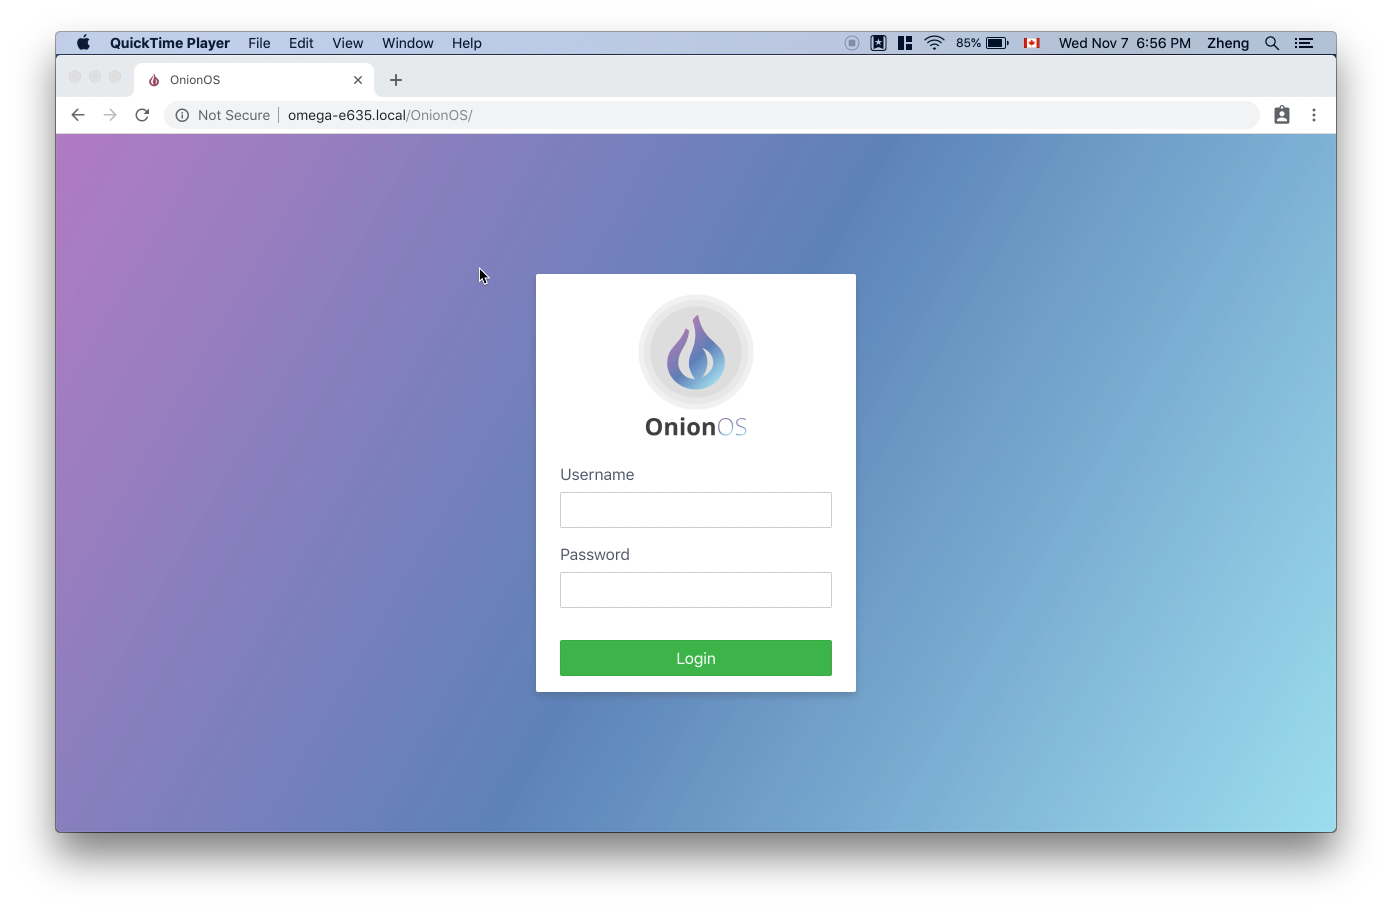
The default credentials are:
username: root
password: onioneer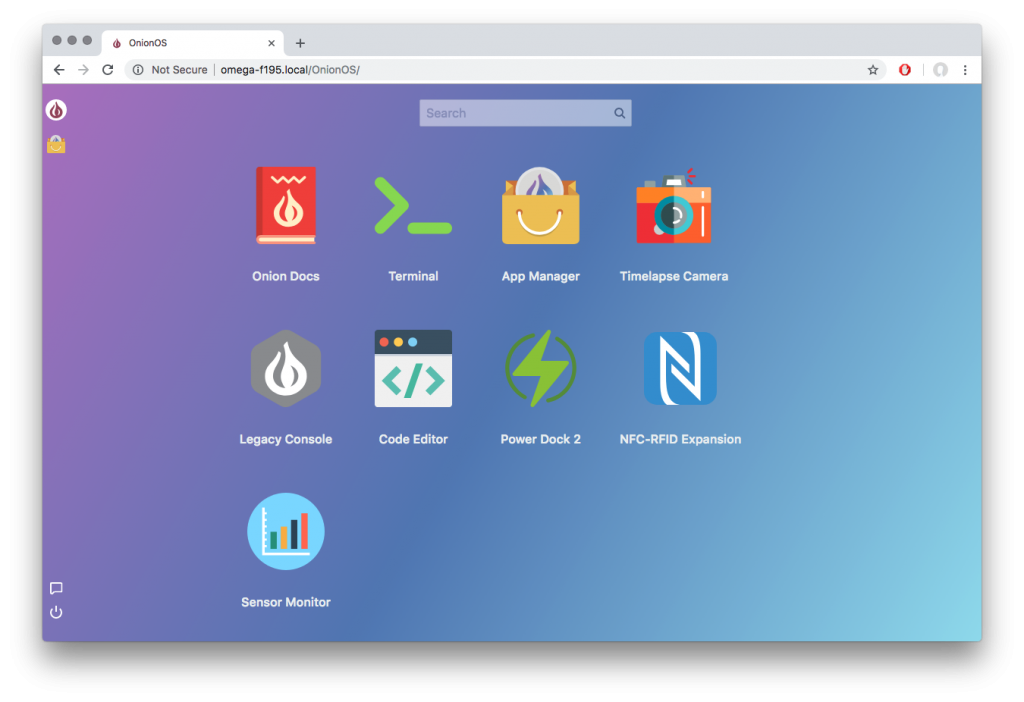
Take a look around, there’s lots to do in OnionOS, for more details see our guide on getting started with OnionOS.
Installing the SparkFun Qwiic App
Head to the App Manager and use it to install the SparkFun Qwiic app:
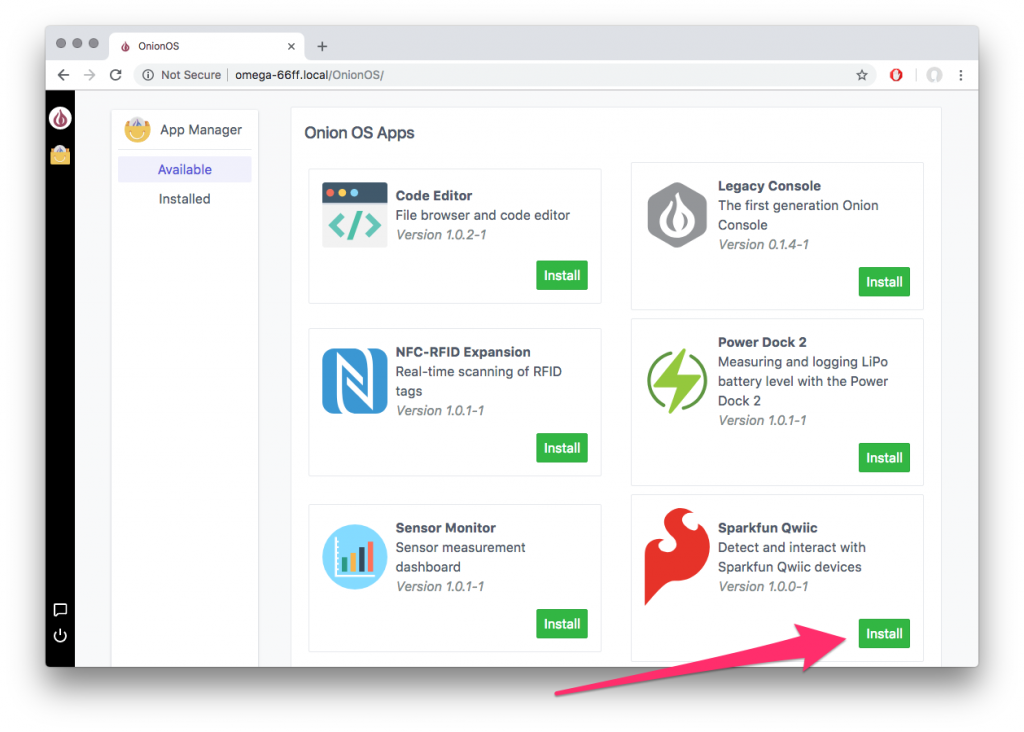
For more details on using the App Manager, see our guide here.
Ok, now go back to the home screen by clicking the Onion icon at the top of the sidebar on the left.
You’ll see your newly installed SparkFun Qwiic App on the home screen:
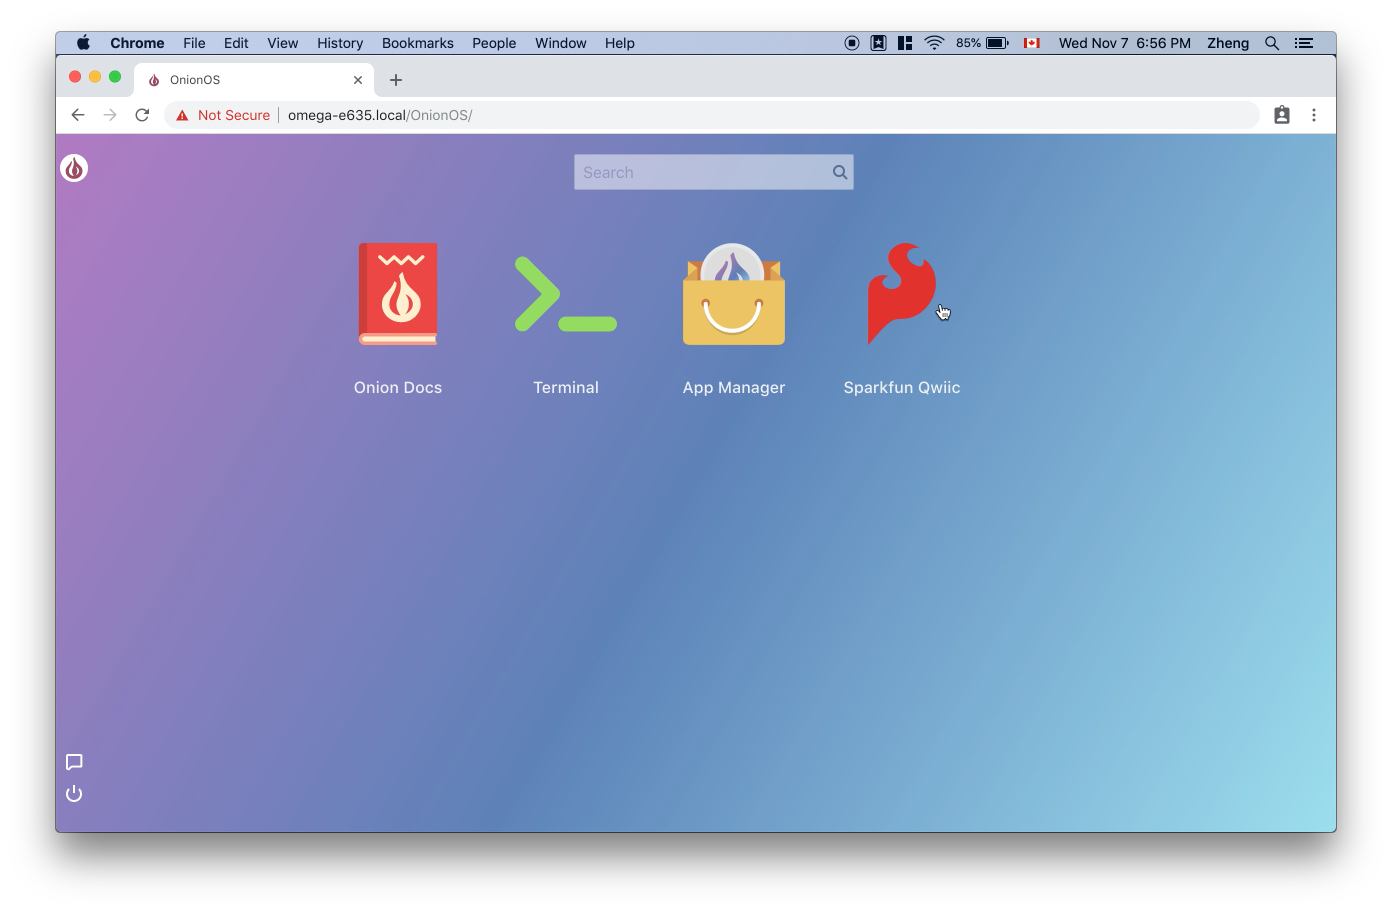
Click on the App and let’s get started.
The SparkFun Qwiic App
The App will automatically detect any connected Qwiic sensors (thanks to each device on the I2C bus having a unique device address).
If you don’t have any Qwiic sensors physically connected, you’ll see something like this:
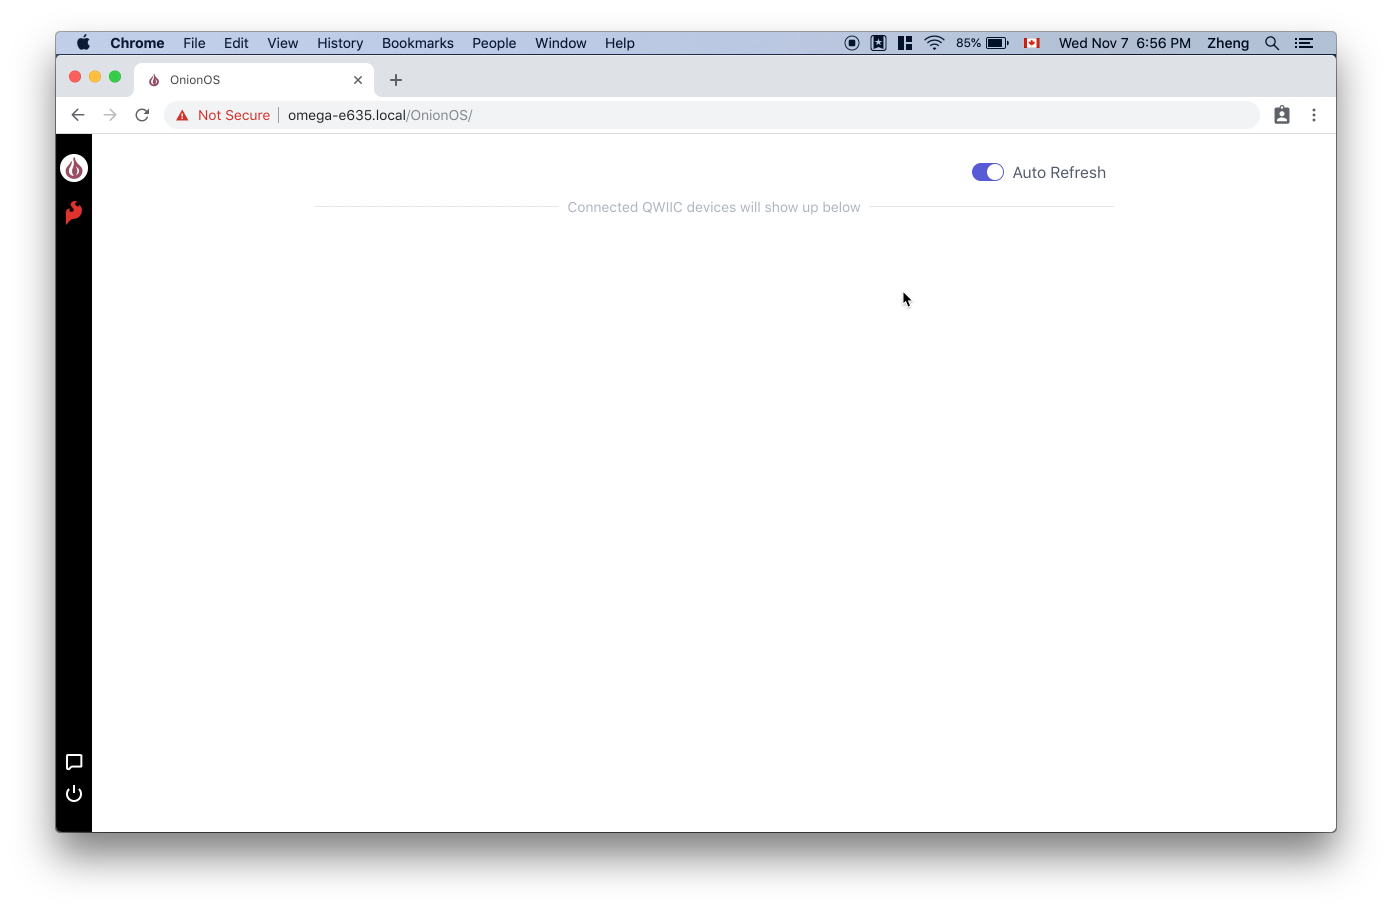
When you plug in a Qwiic sensor, the app will automatically update to show the sensor:
You’ll notice there’s an Interact button next to each of the three boards that come with this kit. Pressing this button will open a modal window that you can use to interact with the sensor.
Grid-EYE Infrared Array – AMG8833
The Grid-EYE Infrared Array is an 8×8 thermopile array – providing us with 64 “pixels” of thermal data. With OnionOS, all of this temperature data is visualized in real time:
Try changing the visualization to mono-chrome mode for better contrast from heat sources, or playing with the min-max values if you’re looking for heat leaks!
Distance Sensor – VL53L1X
The VL53L1X Distance Sensor is a Time of Flight module that measures distances from about 40mm to 4 meters at a 1mm resolution! OnionOS will visualize this data in real time for us:
Environmental Combo – CCS811/BME280
The Environmental Combo features two sensors that work in tandem to provide us with atmospheric quality data, specifically temperature, humidity, barometric pressure, equivalent CO2, and TVOCs. Quickly and easily see the latest sensor readings in your browser:
Try exhaling on the sensor and watch the numbers change!
FAQ
Where can I buy this kit?
This kit is available on Sparkfun: https://www.sparkfun.com/products/15125