
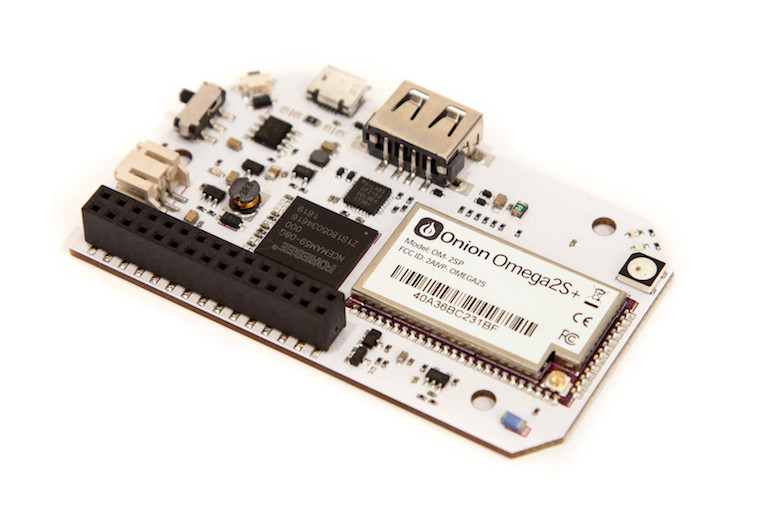
Congratulations on becoming the owner of a brand new Omega2 Pro IoT Computer, the next generation of our highly successful Omega2 and the most powerful IoT computer we’ve made yet.
In this guide we’ll cover:
Unboxing and Getting the Hardware Ready
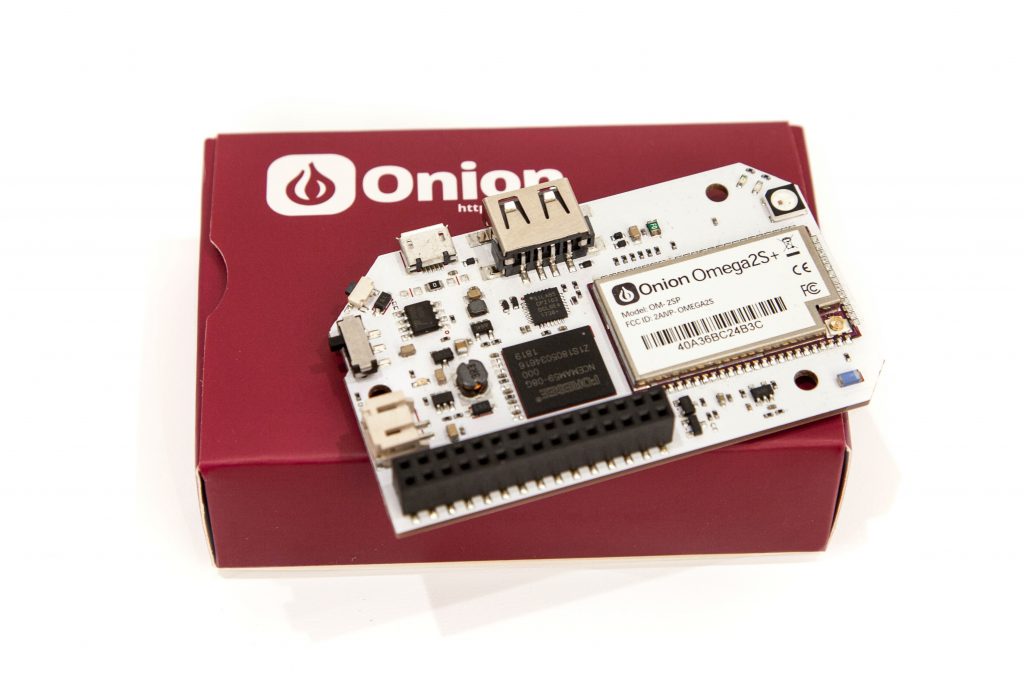
Unpack
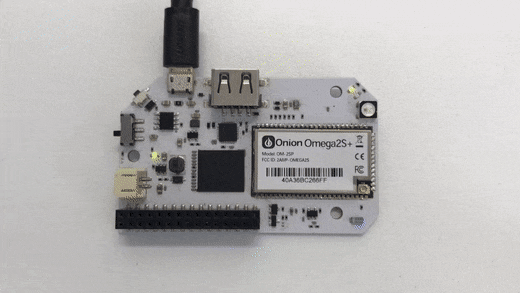
Unpack the Omega2 Pro
Provide Power
In general, the Omega2 Pro can be powered by a MicroUSB source or a LiPo battery. For the first time setup, we strongly recommend using a MicroUSB Power source to make sure the setup process is not interrupted.
You can power it with your computer
Or you can power it with any wall adapter
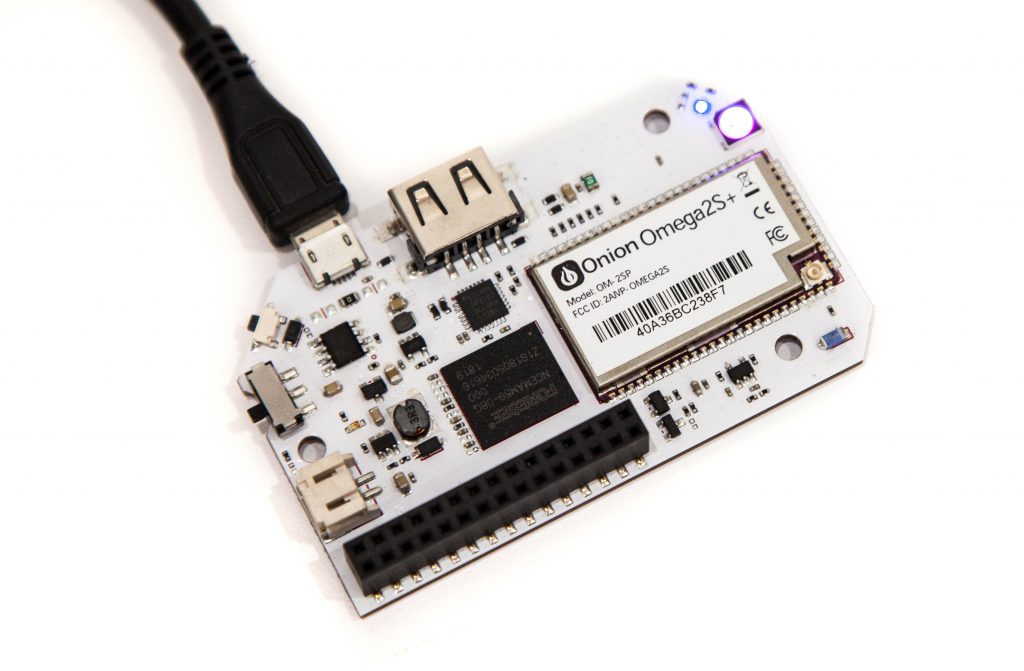
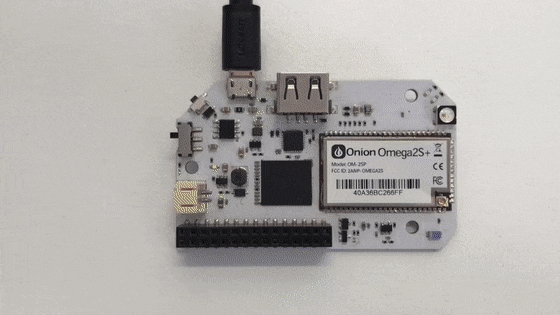
Power On!
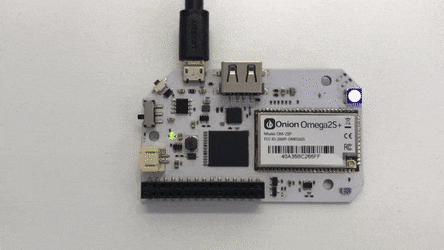
Turn on the Omega2 Pro using the switch.
Wait till it boots
The amber LED on your device should turn on and then start blinking after about 10 seconds. In about a minute, the LED will stop blinking and remain solid, this means that the Omega has completed its boot sequence!
Using the Setup Wizard
Some Computer Configuration
Your computer may need some additional programs to access the Omega through a browser:
- If you are using Windows, install Apple’s Bonjour Service
- If you are using Mac OS X, you’re all set to go
- If you are using Linux, the Zeroconf services should already be installed and you will be good to go
The Omega’s Name
Let’s find your Omega’s name before going any further.
There’s a sticker on the shielding of the Omega2S module on the Omega2 Pro
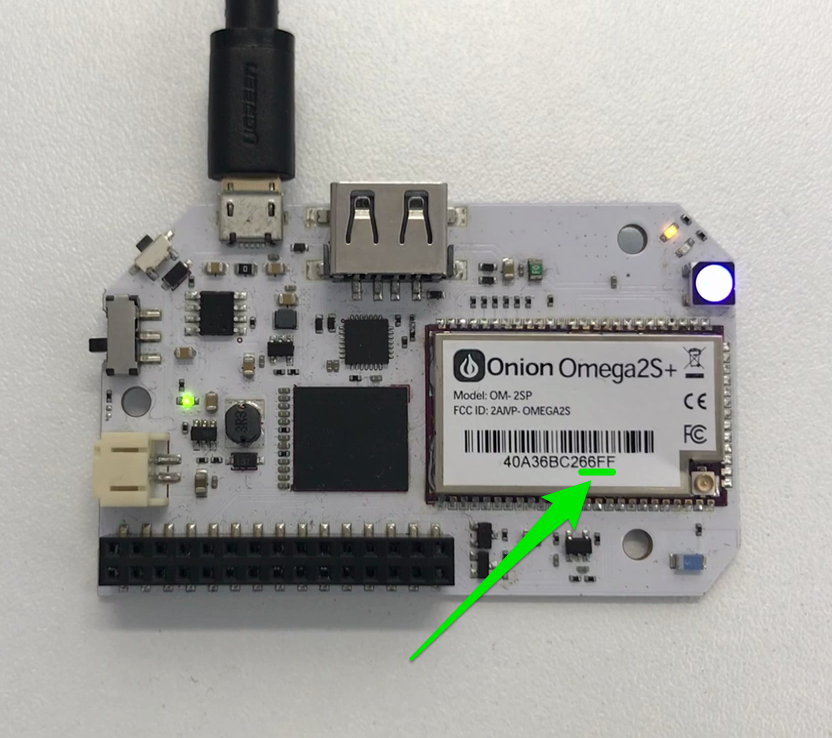
The text printed below the bar code is the Omega2 Pro’s unique MAC address, we’re interested in the last four digits. Your Omega’s name is Omega-XXXX where XXXX are the last four digits from the sticker.
So the Omega from the picture above is named Omega-66FF
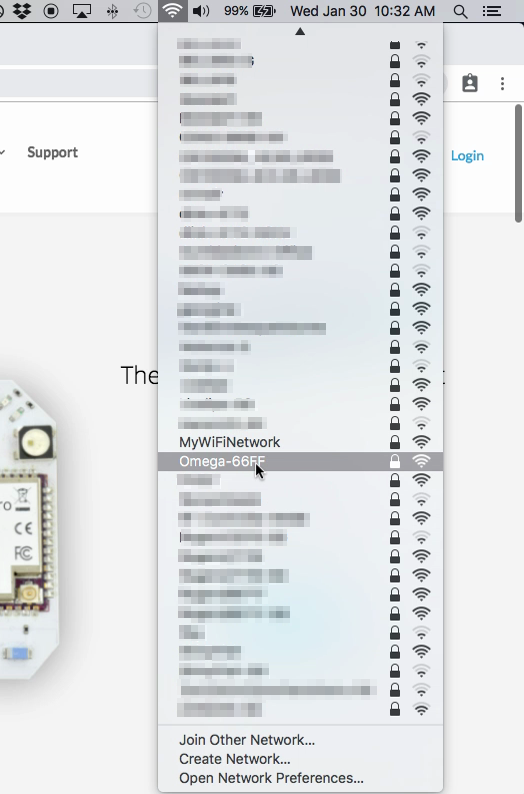
Connect to the Omega’s WiFi Network
The Omega hosts it’s own WiFi network access point. Lets connect your computer to it. The WiFi network is named the same as your Omega and the default password is 12345678
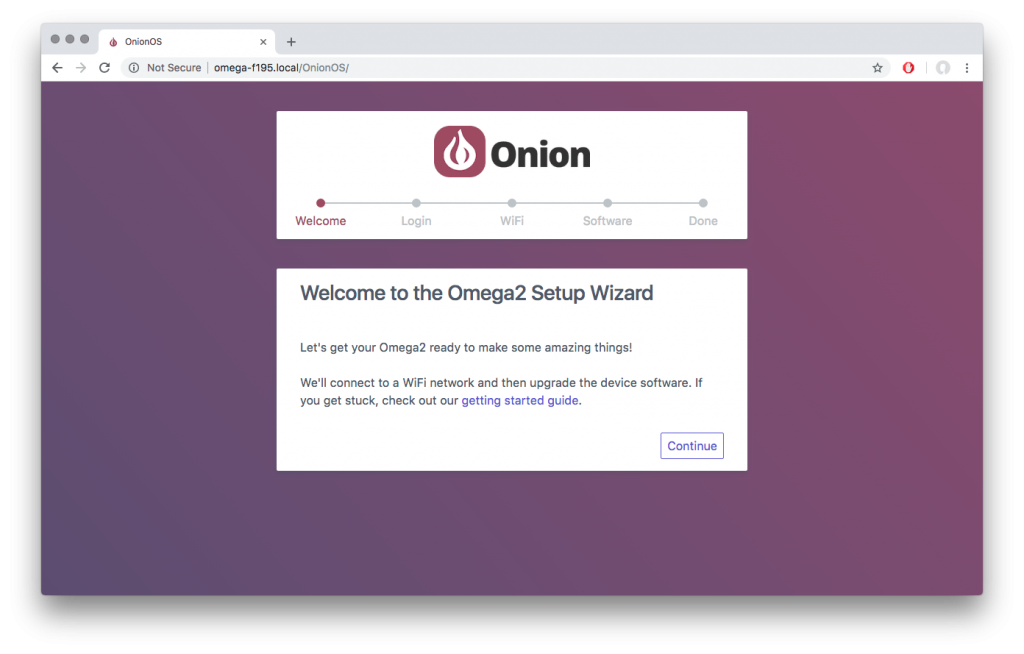
The Setup Wizard
Open your favourite browser and navigate to http://omega-XXXX.local/ where XXXX are the same characters from the network name above. If the page doesn’t load, you can also browse to http://192.168.3.1
You have now arrived at the Setup Wizard, hit Continue to get started:
Login with the Omega’s default credentials:
username: root
password: onioneer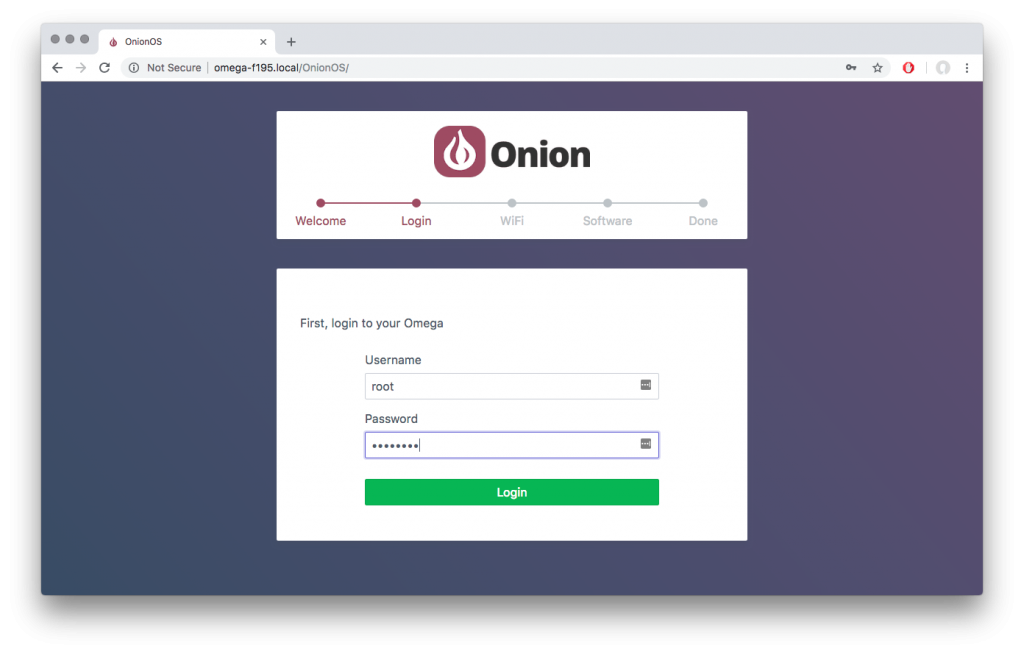
Connect to WiFi
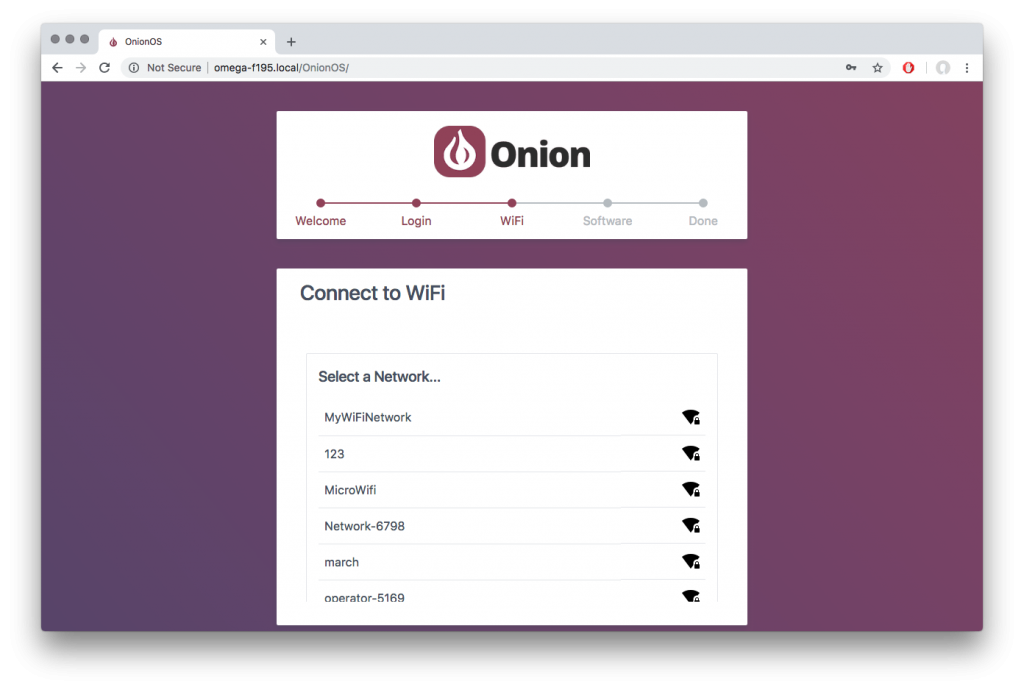
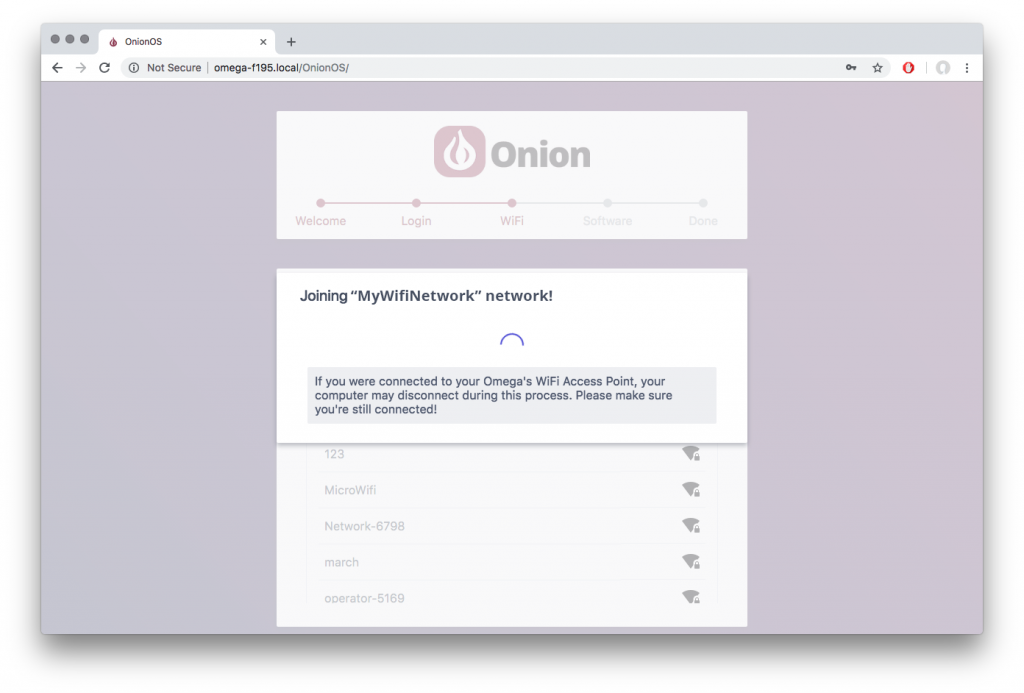
After you’ve logged in, the Omega will scan the environment for available networks and will show the results in a list. In our case, we want to connect to the WiFi network (creatively) named MyWiFiNetwork, so we’ll go ahead and click on it:
This will open a prompt to enter the network password, if the network requires a password:
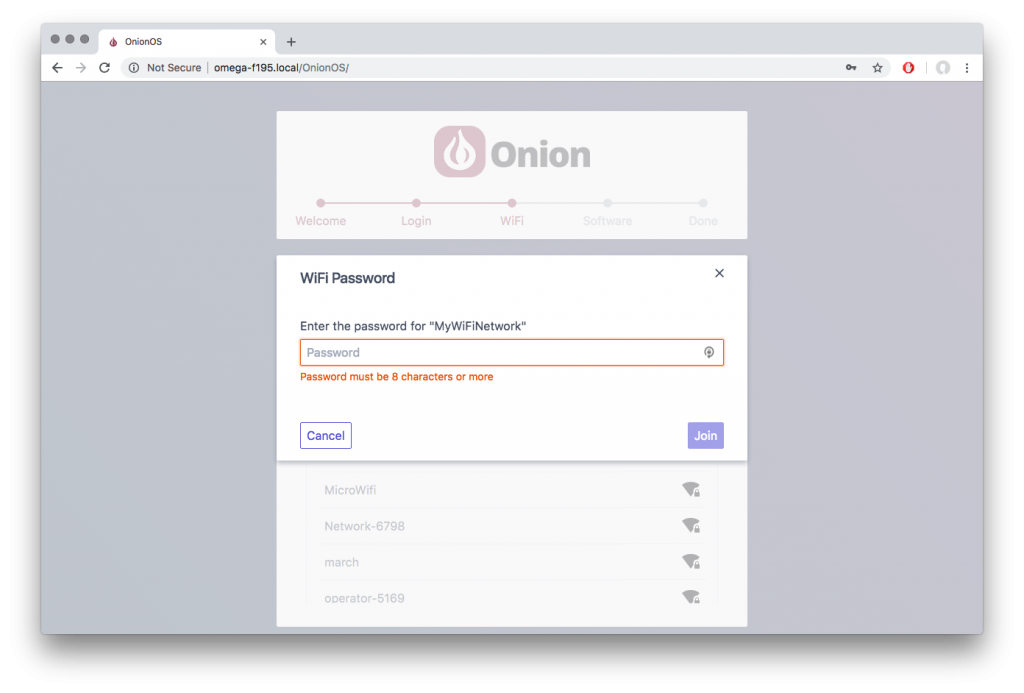
Notice how you’ll only be able to click Join when the password length requirements have been met:
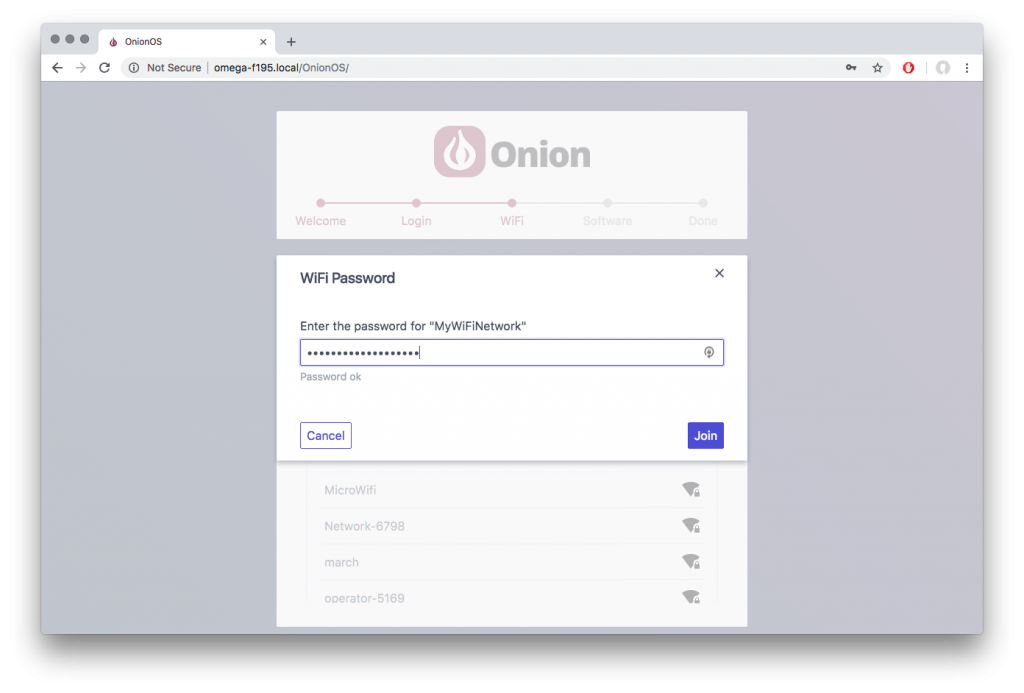
Once you click Join, your Omega will attempt to join the network. This might take up to a minute.
It’s possible that your computer will disconnect from the Omega’s WiFi Access Point, make sure to reconnect if that happens!
When to Omega starts connecting, the Blue WiFi LED on the Omega2 Pro will start to blink. When the connection is successful, the LED will turn solid, and the setup wizard will let you know the connection is successful before moving on to the next step.
Software Updates
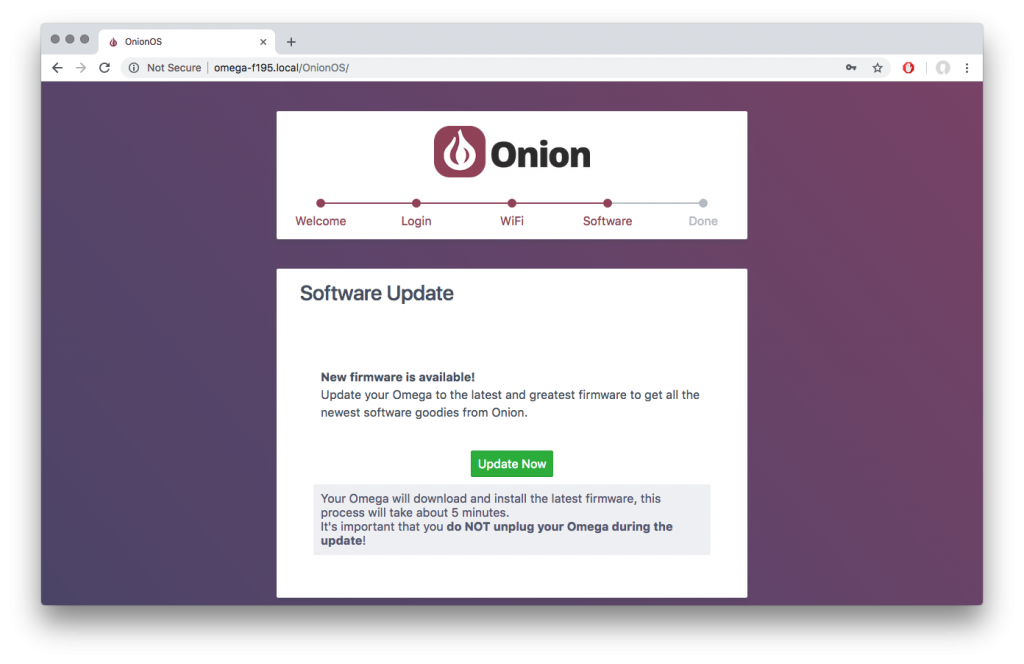
Last step! Now that your Omega is connected to the internet, it will check if software updates are required.
If updates are available, you’ll be able to update by clicking the Update Now button.
Something really important to remember about the update process: it’s absolutely critical that you keep your Omega plugged in and powered on during the update process. The whole process will last about 5 minutes and then you’ll be ready to start making awesome things with your Omega:
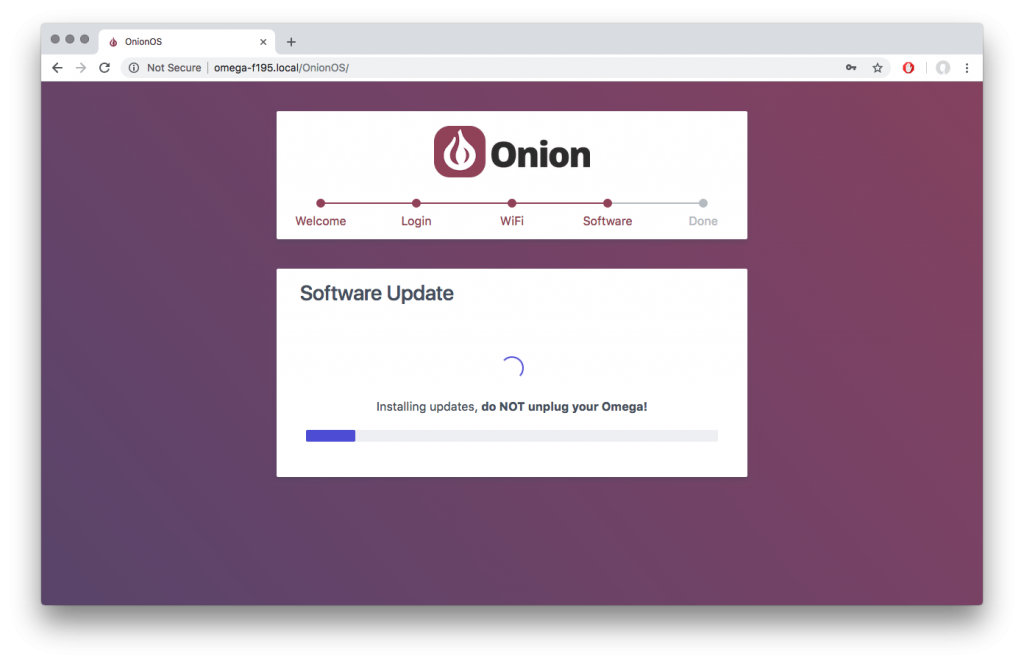
Your Omega will download the updates and install them. The amber LED on your Omega will be blinking at this point.
Finally, your Omega will reboot and initialize the new software. You’ll know everything is done when the amber LED on your Omega stops blinking and remains on.
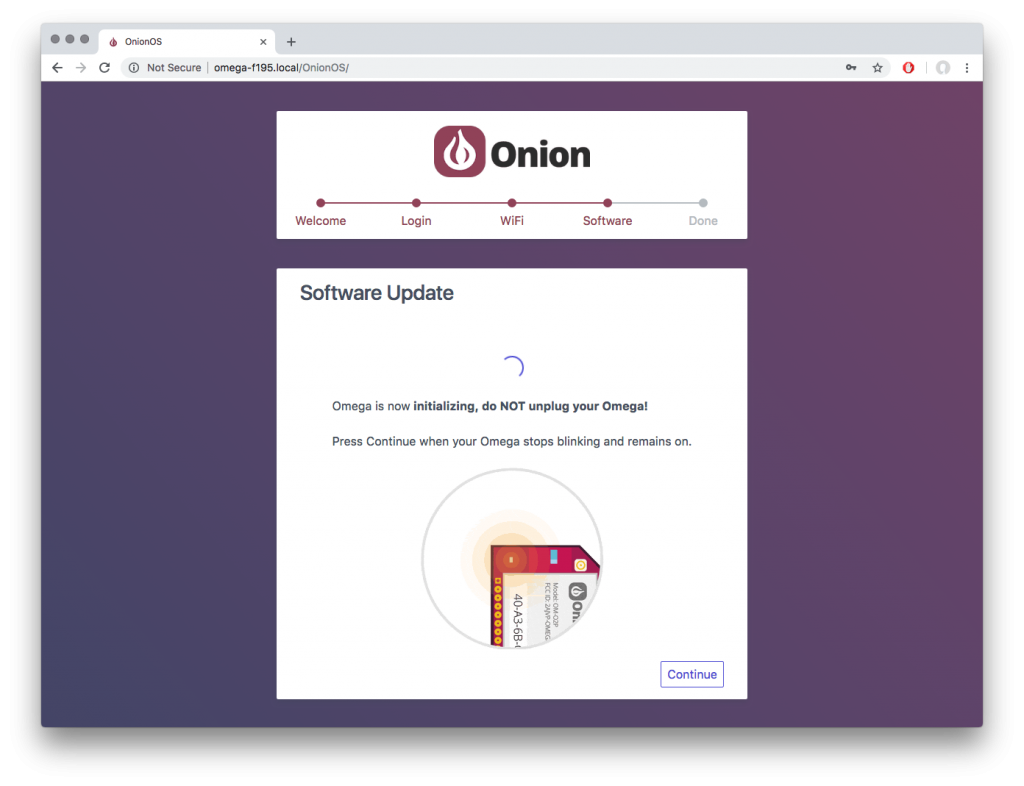
When that happens, press Continue. That brings us to the end of the Setup Wizard, your Omega is now configured and ready to go!
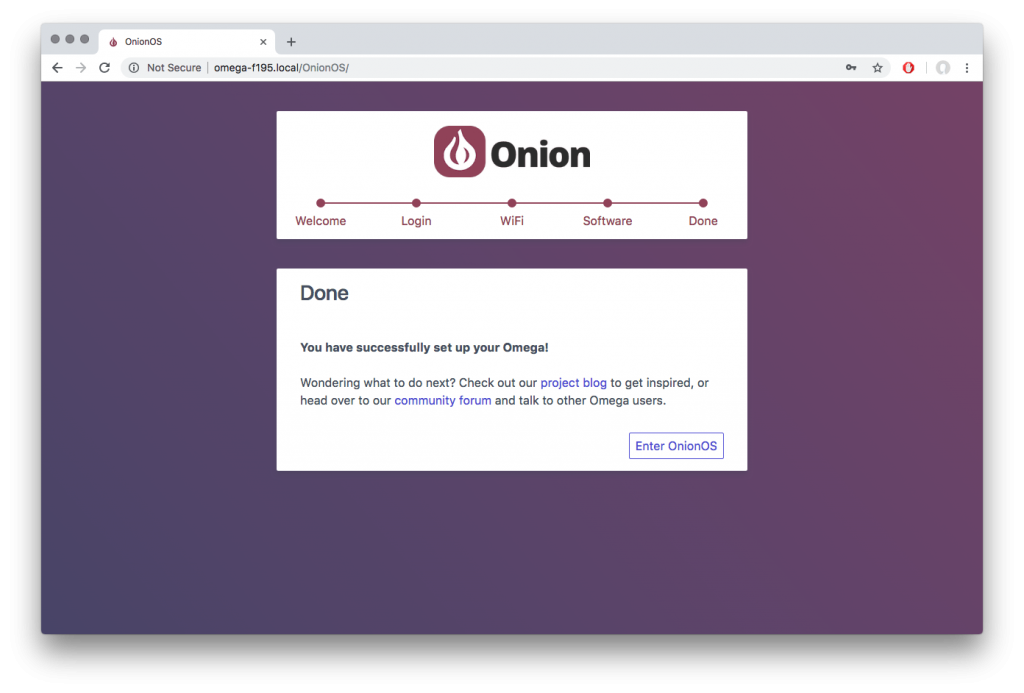
From now on, when you point your browser to your Omega, you’ll be taken directly to OnionOS.
All Done!
You’re all set to start using your Omega2 Pro! Check out the Using the Omega2 Pro section below, our Guide on Using OnionOS and the Using the Omega section in our documentation for ideas on what to do next! You should also check out the Onion Community to see what other Omega users are talking about and building.
The Setup Wizard Didn’t Work for me!
If for some reason the Setup Wizard wasn’t able to get your Omega up and running, try the steps in the First Time Setup using the Command Line guide or see the Troubleshooting guide.
Using the Omega2 Pro
Here we’ll cover some of the nice things you can do with the Omega2 Pro: And here are some links to helpful resources:- Connecting to the Omega’s Command Line
- Guide on using OnionOS
- Using the Omega section in our documentation
Overview
- The Omega2 Pro firmware is based on the OpenWRT 18.06 release of the OpenWRT Linux operating system
- The build system we use for creating this firmware is open source and can be found on GitHub
- The firmware images and the package repo for the Omega2 Pro can be found here.
Expansion Header
The Omega2 Pro features 30-pin Expansion Header that gives you easy access to the GPIOs, and allows you to connect Omega2 Expansions directly. To learn more, see our documentation article on the Omega’2 GPIOs.
The Omega2 Pro is compatible with the existing ecosystem of plug-and-play Omega2 expansions.
LiPo Battery Support
The Omega2 Pro features hardware for LiPo battery management and sports a JST-PH battery connector. LiPo batteries can be used as the main power source, and will be charged when the Omega is connected to USB power. Use a battery to make your project portable, or to act as a back-up power supply.It’s also perfectly alright to power the Omega2 Pro with just USB power.
Connecting a Battery
The Omega2 Pro is designed for use with 3.7V LiPo Batteries with standard 2-pin JST-PH connectors (2mm spacing between pins). A battery can be connected at any time:
Reading the Battery Level
There is also an on-board ADC for reading the battery voltage level. To do so, run the following on the command line:power-dock2
root@Omega-66FF:/# power-dock2
Battery Voltage Level: 4.10 V
Controlling the Full-Color LED
Beside the System and WiFi status LEDs, there is a larger, full-color LED. To program the LED color, the GPIO muxing must first be set:omega2-ctrl gpiomux set uart2 pwm23
This will need to be done after every reboot.Then, the LED can be programmed with a hex color code:
# red
echo -en '\xff\x00\x00' > /dev/ledchain2
# blue
echo -en '\x00\xff\x00' > /dev/ledchain2
# green
echo -en '\x00\x00\xff' > /dev/ledchain2
# off
echo -en '\x00\x00\x00' > /dev/ledchain2
Node-Red
Node-RED is a flow-based, visual programming tool that runs in the browser. It comes packaged as an OnionOS App on the Omega2 Pro and can be easily accessed through OnionOS in any browser.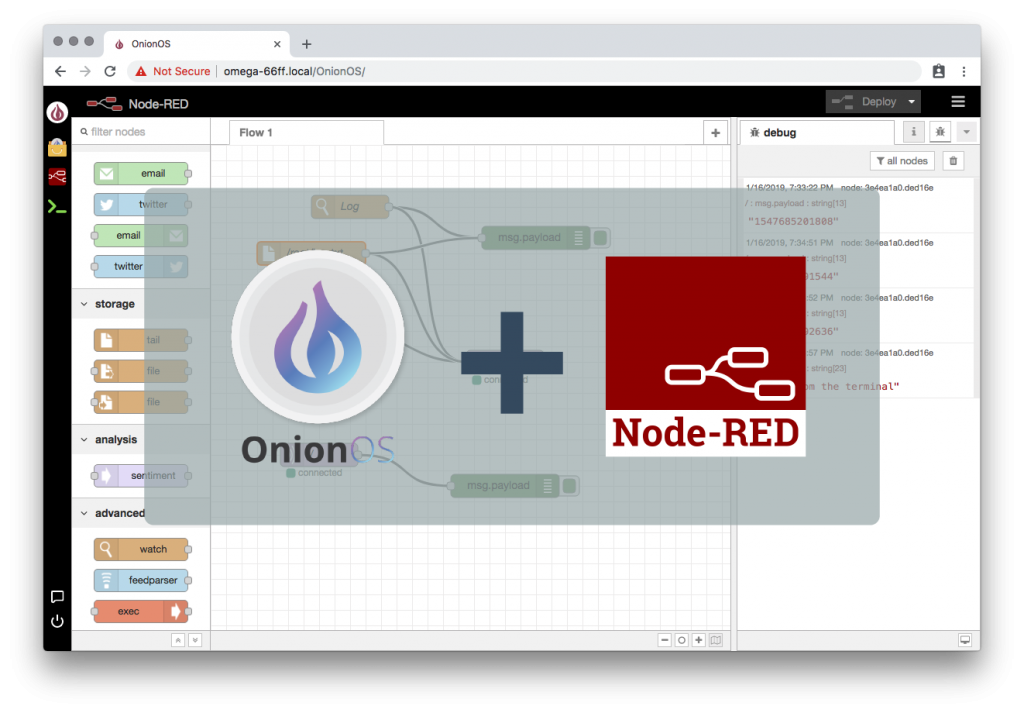 Learn more about installing and using Node-Red on the Omega2 Pro in our documentation.
And check out these awesome example flows that use Node-Red to connect to IBM Watson IoT, made by John Walicki, member of the IBM Watson IoT Developer Advocate team.
Learn more about installing and using Node-Red on the Omega2 Pro in our documentation.
And check out these awesome example flows that use Node-Red to connect to IBM Watson IoT, made by John Walicki, member of the IBM Watson IoT Developer Advocate team.