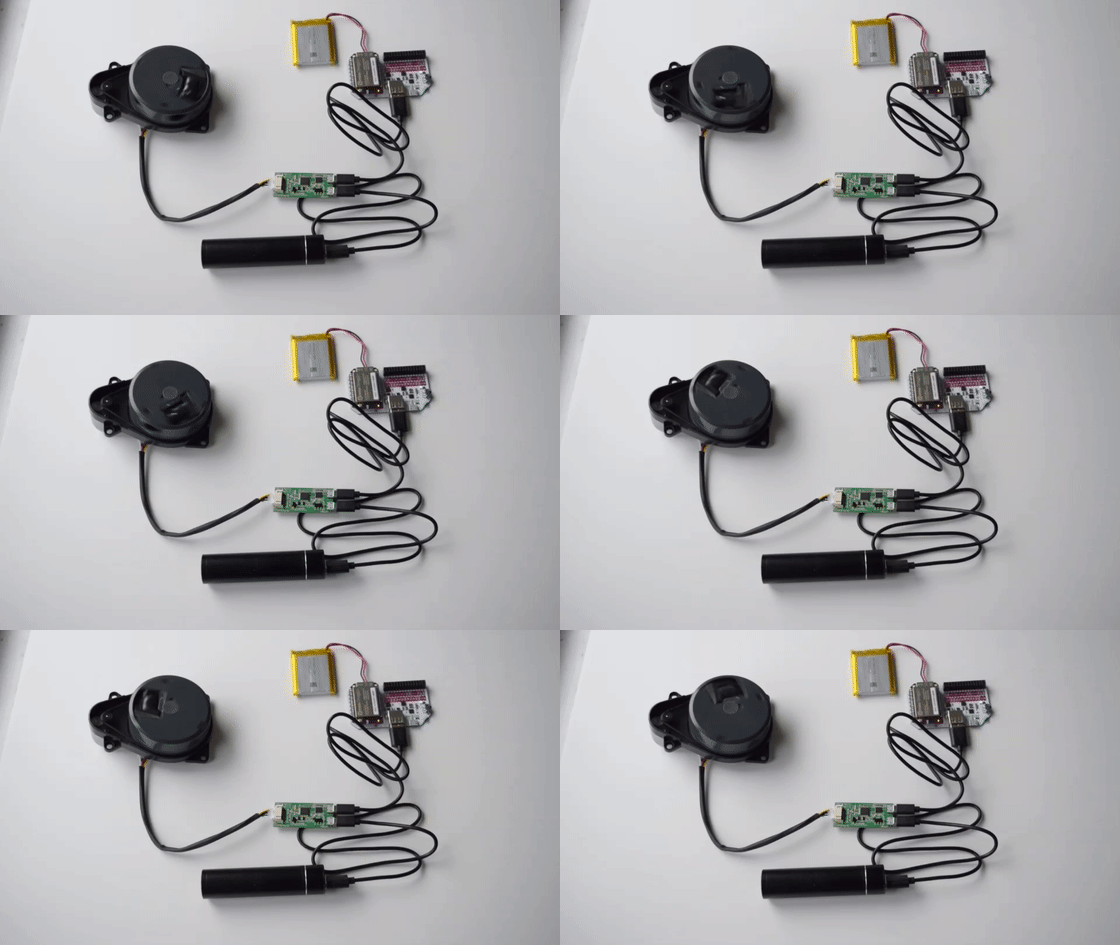
Welcome to the quickstart guide for your Omega2 Wireless LiDAR Kit. While most LiDAR scanners are increasingly found in mobile technology applications such as drones, robots, and transport vehicles, they are usually tethered to their host computer. That means their mobility is constrained by their computer of origin and that their potential is limited by the capabilities of that same host computer.

This presents a problem to users looking for a product with creative potential. Instead of buying a product with preset limitations, you’ve made the right decision by choosing the Omega2 Wireless LiDAR Kit. The brilliance behind the Omega2 is that it is wireless, totally mobile, and untethered. Following this setup guide will allow you to use your Omega2 LiDAR scanner as if it were plugged in to your computer while letting your LiDAR scanner roam freely.
Connecting Onion’s 360˚ 2D LiDAR unit to the Omega2 allows for the transmission of raw ranging data to any computer in the local WiFi network, allowing you to use your scanner throughout your creative process. That means using the real-world distance data from your LiDAR unit to develop your unique program in real time.
In this quickstart guide we’ll cover:
Getting Familiar with your Kit
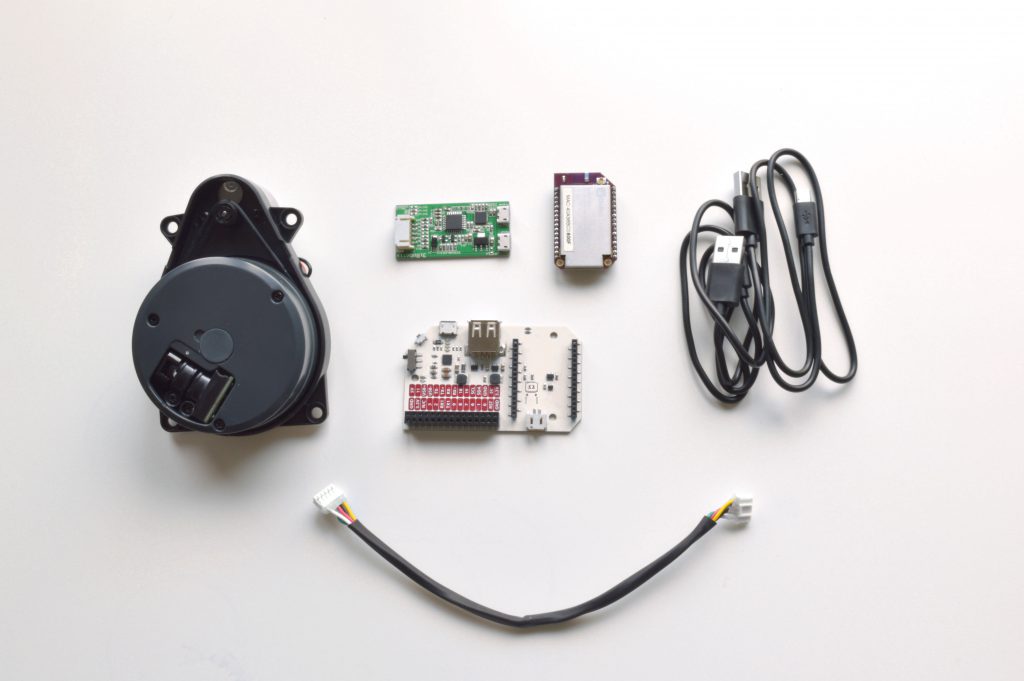
To get started, you will need the Omega2 Wireless LiDAR Kit and all its components, which include the following:
- Omega2+
- Power Dock 2
- 360˚ LiDAR Scanner
- LiDAR control board
- 2x MicroUSB cables
You will also need your own personal computer workstation and access to a local WiFi network.
Expanding on what we covered above, your Omega2 Wireless LiDAR Kit will allow you to take full advantage of your own visualization and navigation software while your untethered LiDAR unit is deployed in the field in real time. Connecting your LiDAR scanner to the Omega2 allows the raw scanned data to be transmitted over WiFi to any computer in the same network. Once connected, the LiDAR unit will appear as a USB device on your computer. Then you can run your own powerful localization and navigation software while receiving data in real time.
What can you do with LiDAR?
LiDAR stands for light detection and ranging, and is a surveying method that uses pulsing laser light to measure distances between objects. While originally designed for applications in geomatics, LiDAR has evolved to become one of the core technologies driving autonomous vehicle recognition software for drones, robots, and cars. Use your own 360˚ 2D LiDAR unit to make maps, images, or even create your own navigation software for a drone.
A Word of Warning
Since LiDAR uses pulsing laser light to determine distance, operating in direct sunlight may affect the accuracy of the measurements. Prolonged exposure to direct sunlight may damage the light sensor!
The LiDAR Scanner uses Laser technology and complies with FDA Class I standards. It is non-hazardous to human eyes.
Hardware Setup
Setting up your LiDAR Kit is a breeze.
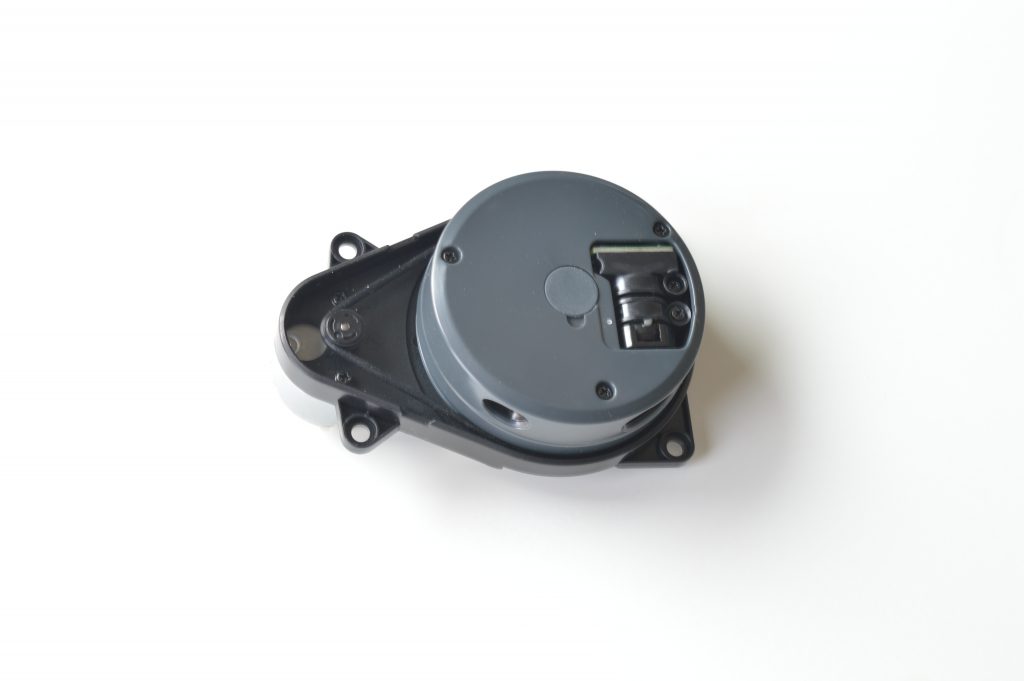
We’ll first grab the 360˚ LiDAR scanner, pictured below:
And connect it to the LiDAR control board
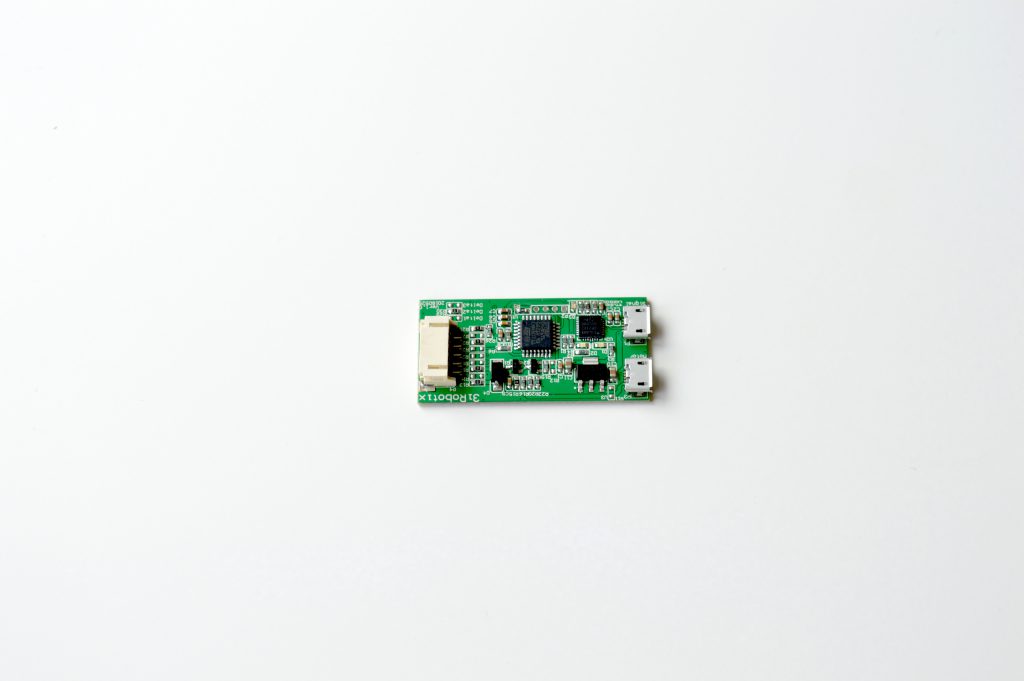
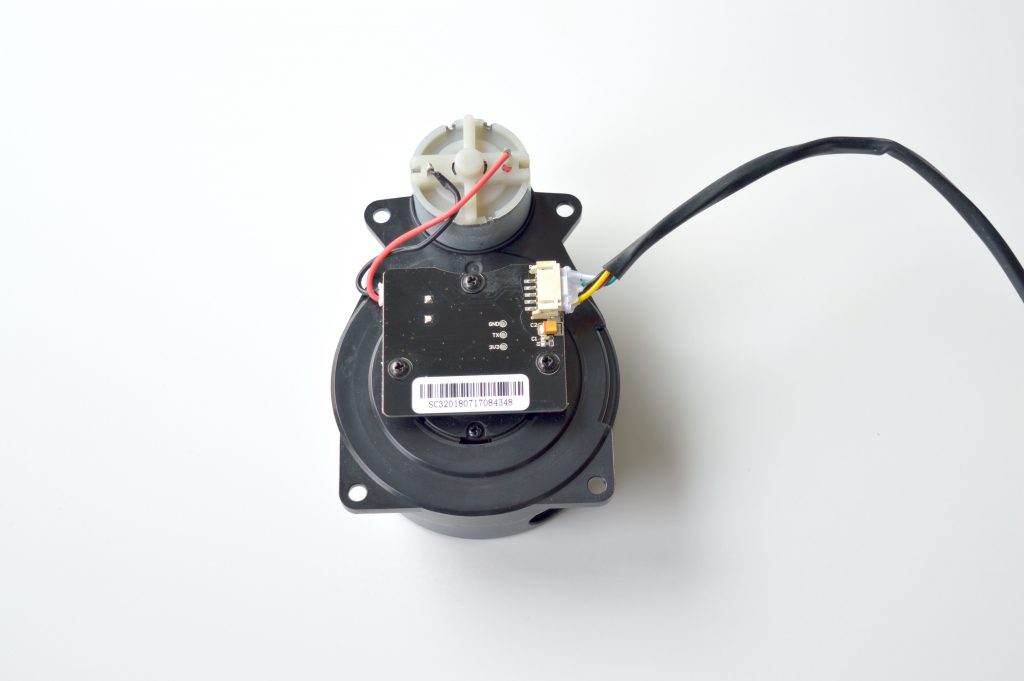
Flip the scanner over and connect it to the control board using the included 5-pin cable:
The LiDAR control board should then be connected to the Omega2 and Power Dock 2 with a MicroUSB cable. Make sure that the MicroUSB cable is connected to the top port of the LiDAR control board.
For a full overview of how to connect the Omega2 to the Power Dock 2, see this guide.
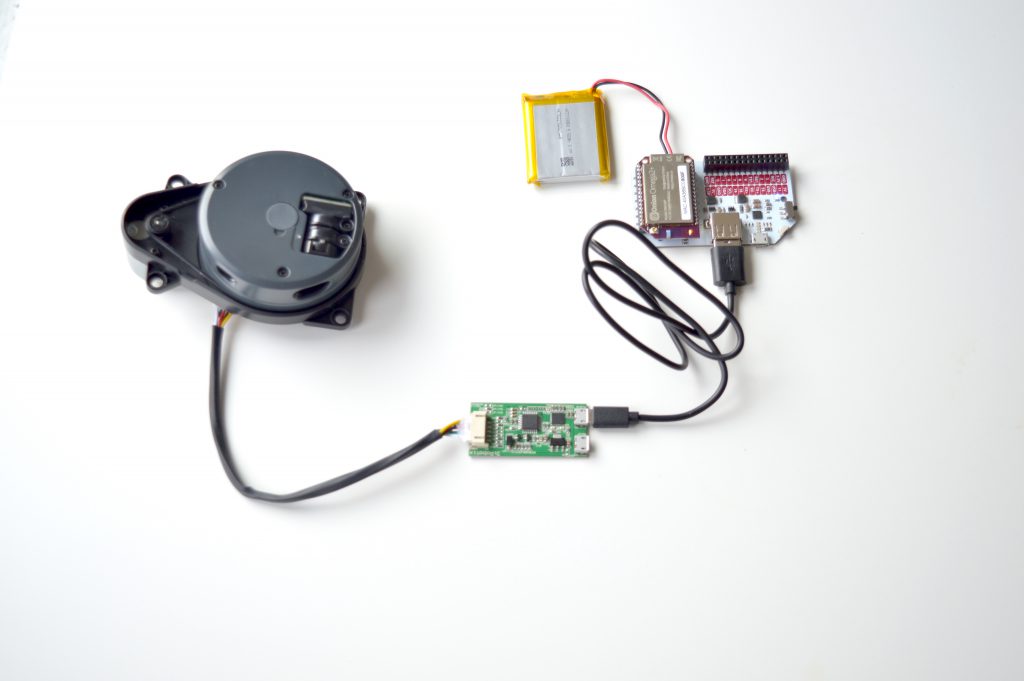
* LiPo battery not included
Then connect a power source to the bottom USB port of the LiDAR control board. In our case, we used a portable USB battery to make the kit 100% mobile.
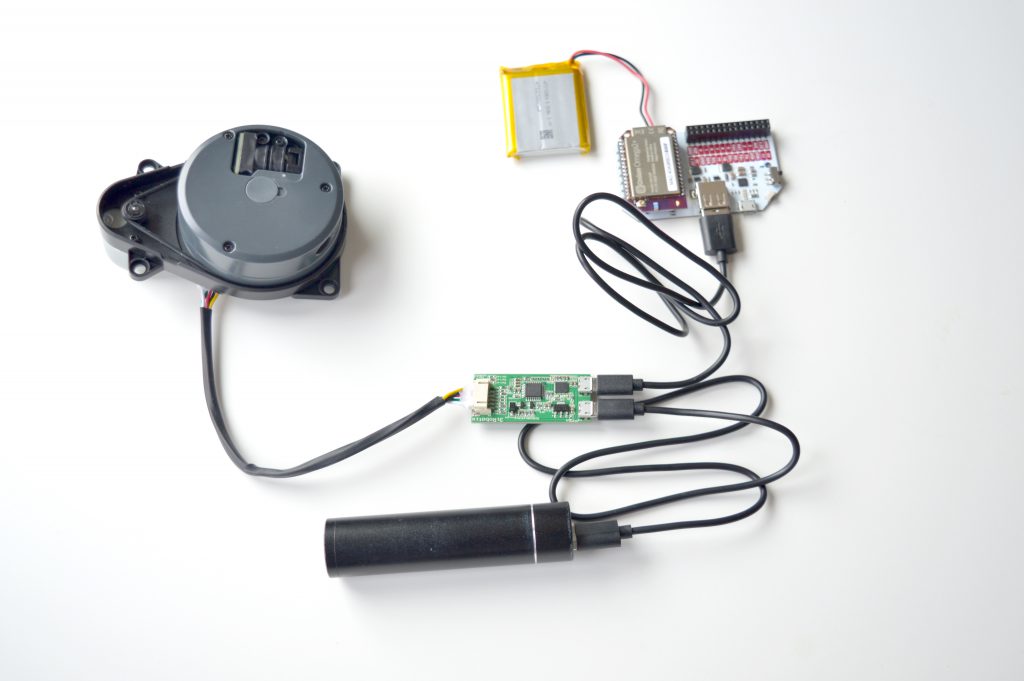
* LiPo battery and USB battery not included
See below for a full demonstration of the hardware setup process:

Software Setup
You will need to perform some setup on your computer as well as the Omega.On your Computer
You’ll need to:- Install the VirtualHere USB Client
- Install the CP2102 USB to Serial driver
- Download the Delta2B LiDAR Visualization Software
VirtualHere USB Client
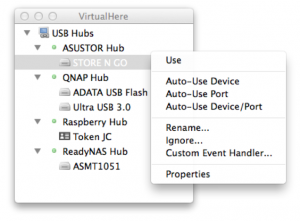
First, install the VirtualHere USB Client. VirtualHere USB Client is an intuitive and easy to use program that can run on any computer using an untethered wireless device such as Onion’s LiDAR unit. VirtualHere USB Client is compatible with Windows, OSX, and Linux. Installation is easy, simply click the link below, save the downloaded file to desktop, and run. More information can be found on VirtualHere USB Client guide.- Windows: https://www.virtualhere.com/sites/default/files/usbclient/vhui64.exe
- Mac OS X: https://www.virtualhere.com/sites/default/files/usbclient/VirtualHere.dmg
- Linux: https://www.virtualhere.com/sites/default/files/usbclient/vhuit64
CP2102 USB to Serial Driver
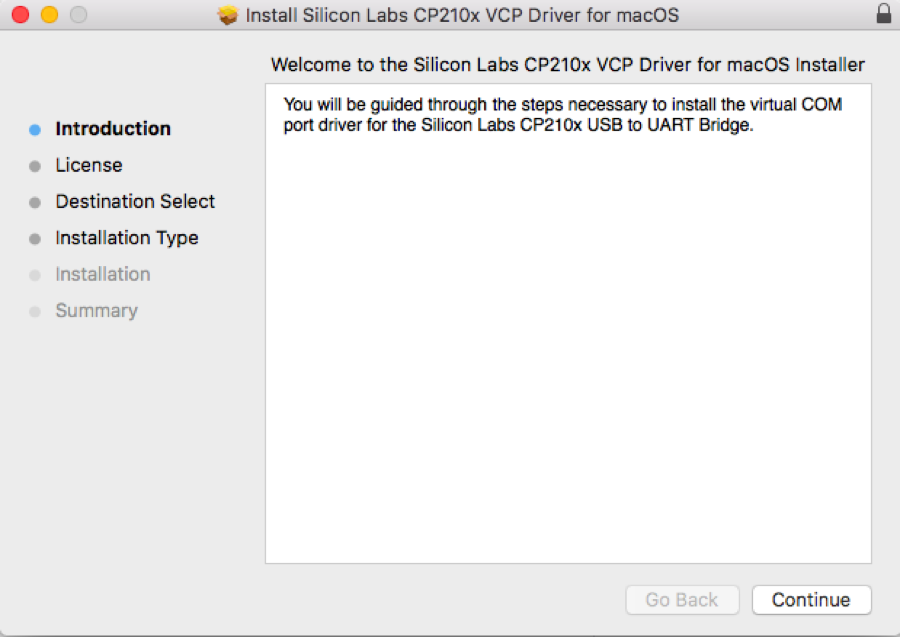
Secondly, you need to install the CP2102 USB to Serial driver, which facilitates the USB communication between your LiDAR unit and your workstation. Download and install the driver:- Windows: https://www.silabs.com/Support%20Documents/Software/CP210x_VCP_Windows.zip
- Mac OS X: https://www.silabs.com/documents/public/software/Mac_OSX_VCP_Driver.zip
- Linux: https://www.silabs.com/documents/login/software/Linux_3.x.x_4.x.x_VCP_Driver_Source.zip
LiDAR Visualization Software
Download the complementary LiDAR visualization software for Windows from GitHub:On your Omega2+
To start, you’ll need to connect the Omega to your WiFi network and update it to the latest available firmware. Follow our Omega2 first time setup guide for all of the steps in detail. If you run into any issues, try doing the first time setup using the command line. Then, install the Virtual Here Server by running the following command:wget -O - https://raw.githubusercontent.com/OnionIoT/omega2-lidar-kit/master/scripts/autoSetup.sh | sh
How to Use the Kit
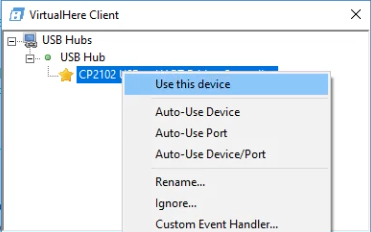
Great work, you’re nearly there. To get started, make sure your hardware is setup correctly, the Omega2 is powered on, and the LiDAR scanner is activated: Next, wirelessly connect the LiDAR to the computer through the VirtualHere software that you downloaded earlier.
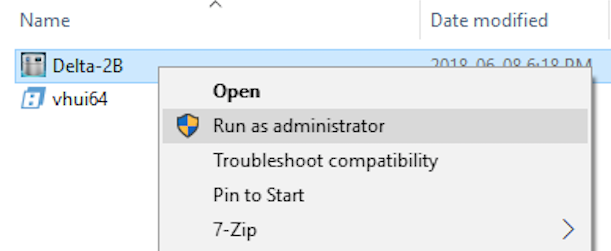
Then we’ll want to fire up the visualization software. Find the executable and run it as an administrator:
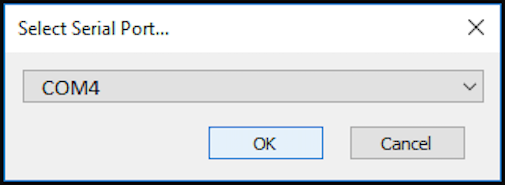
When the software starts, it will prompt you to select a serial port. Select the serial port that corresponds to the VirtualHere USB device
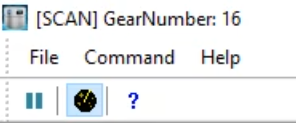
Press the Start Scanning button:
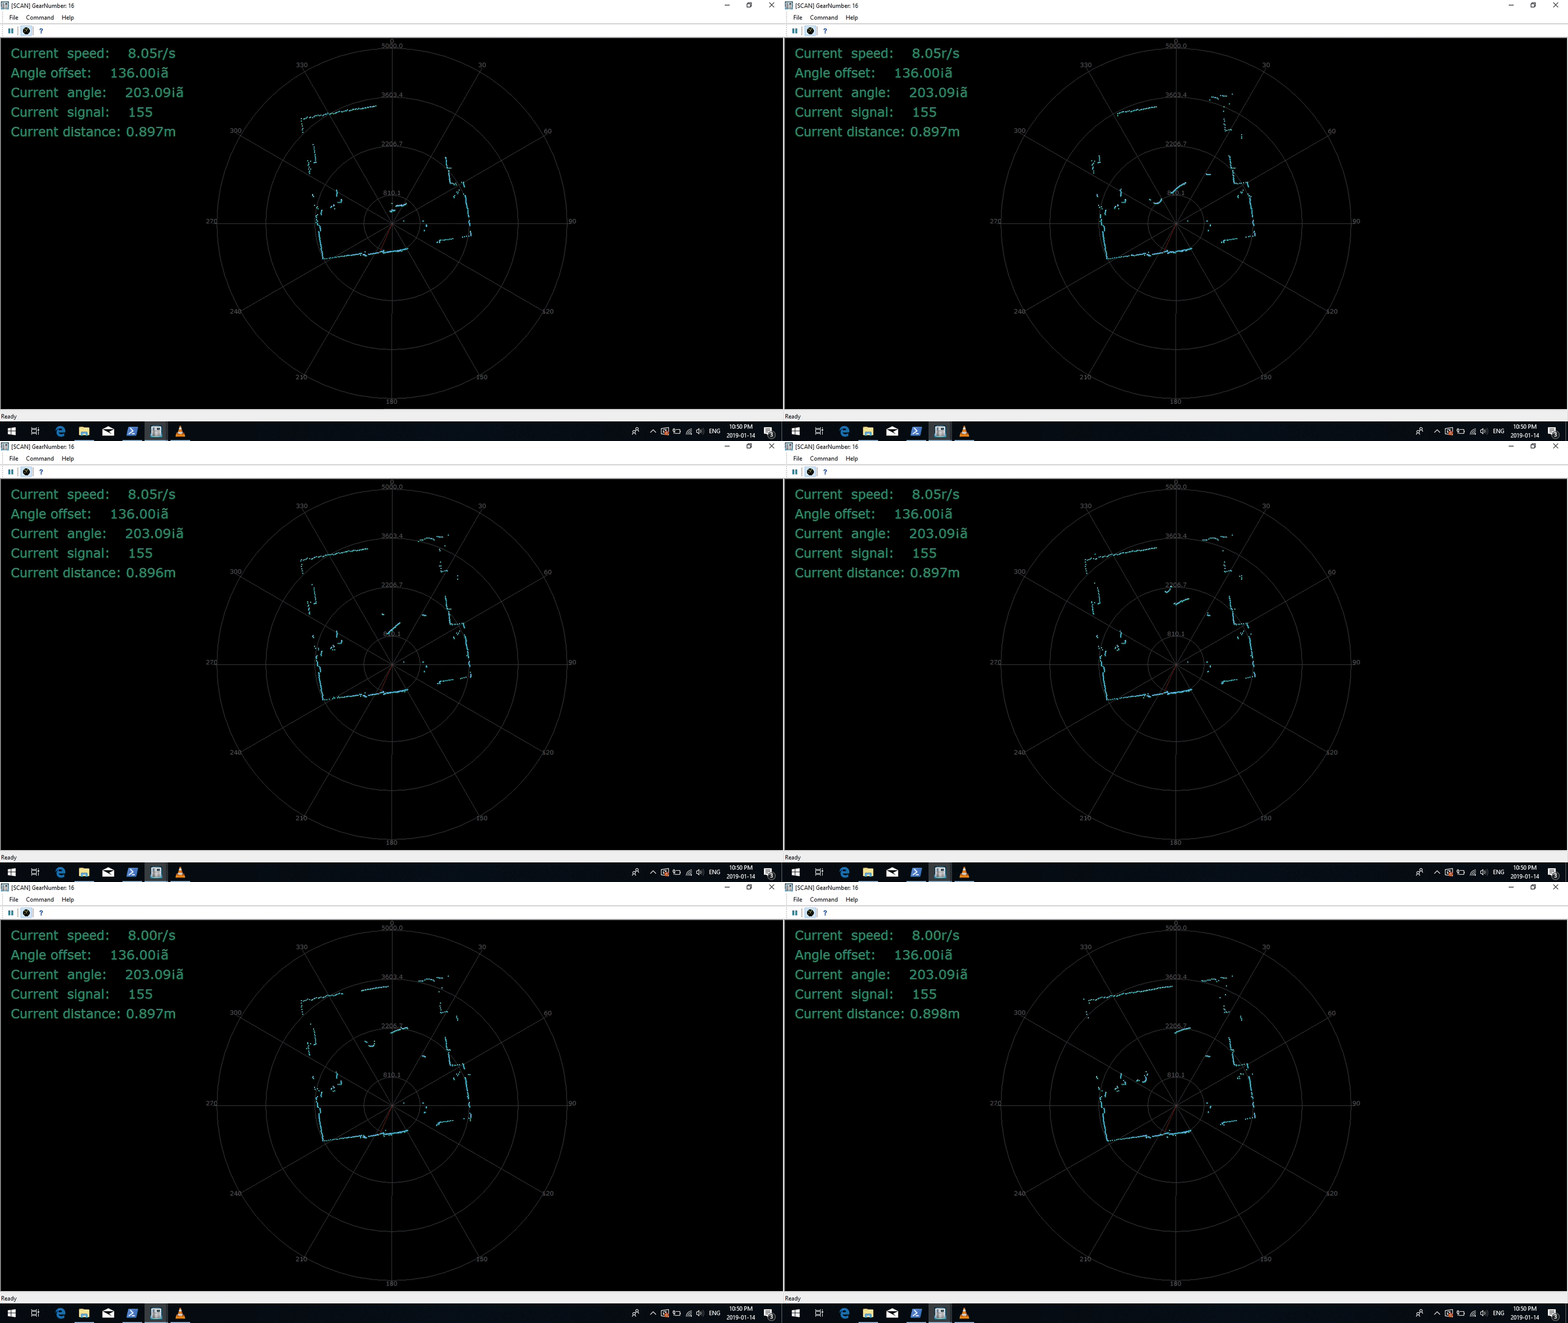
And you’re up and running! The software will display the distance measurements acquired by the LiDAR kit in real time:
Downloads
CP2102 USB to Serial Driver
- Windows: https://www.silabs.com/Support%20Documents/Software/CP210x_VCP_Windows.zip
- Mac OS X: https://www.silabs.com/documents/public/software/Mac_OSX_VCP_Driver.zip
- Linux: https://www.silabs.com/documents/login/software/Linux_3.x.x_4.x.x_VCP_Driver_Source.zip
VirtualHere USB Client for your computer
- Windows: https://www.virtualhere.com/sites/default/files/usbclient/vhui64.exe
- Mac OS X: https://www.virtualhere.com/sites/default/files/usbclient/VirtualHere.dmg
- Linux: https://www.virtualhere.com/sites/default/files/usbclient/vhuit64
VirtualHere for the Omega2
Omega2 Wireless LiDAR Kit GitHub Repo
https://github.com/OnionIoT/Omega2-Lidar-Kit
Includes:
- 2D Distance Visualization Software for Windows
- LiDAR Scanner Dimensions
- LiDAR Scanner Protocol Guide
- Example Python program to read distance data
