
Omega Tip
For this week’s tip, we’re doing a quickstart tutorial for getting up and running with the Servo (PWM) Expansion. We’ll show you how to correctly connect servo-motors to the Expansion and then how to move them from the command line.
Why exactly is this called the Servo (PWM) Expansion? Glad you asked! Servo-motors are controlled with Pulse Width Modulated (PWM) signals. For a PWM signal, the duration of time the signal is “high” (logical 1) determines the pulse width. When a servo receives a PWM signal, it will set it’s angle according to the pulse width of the signal it receives, but more on that later.
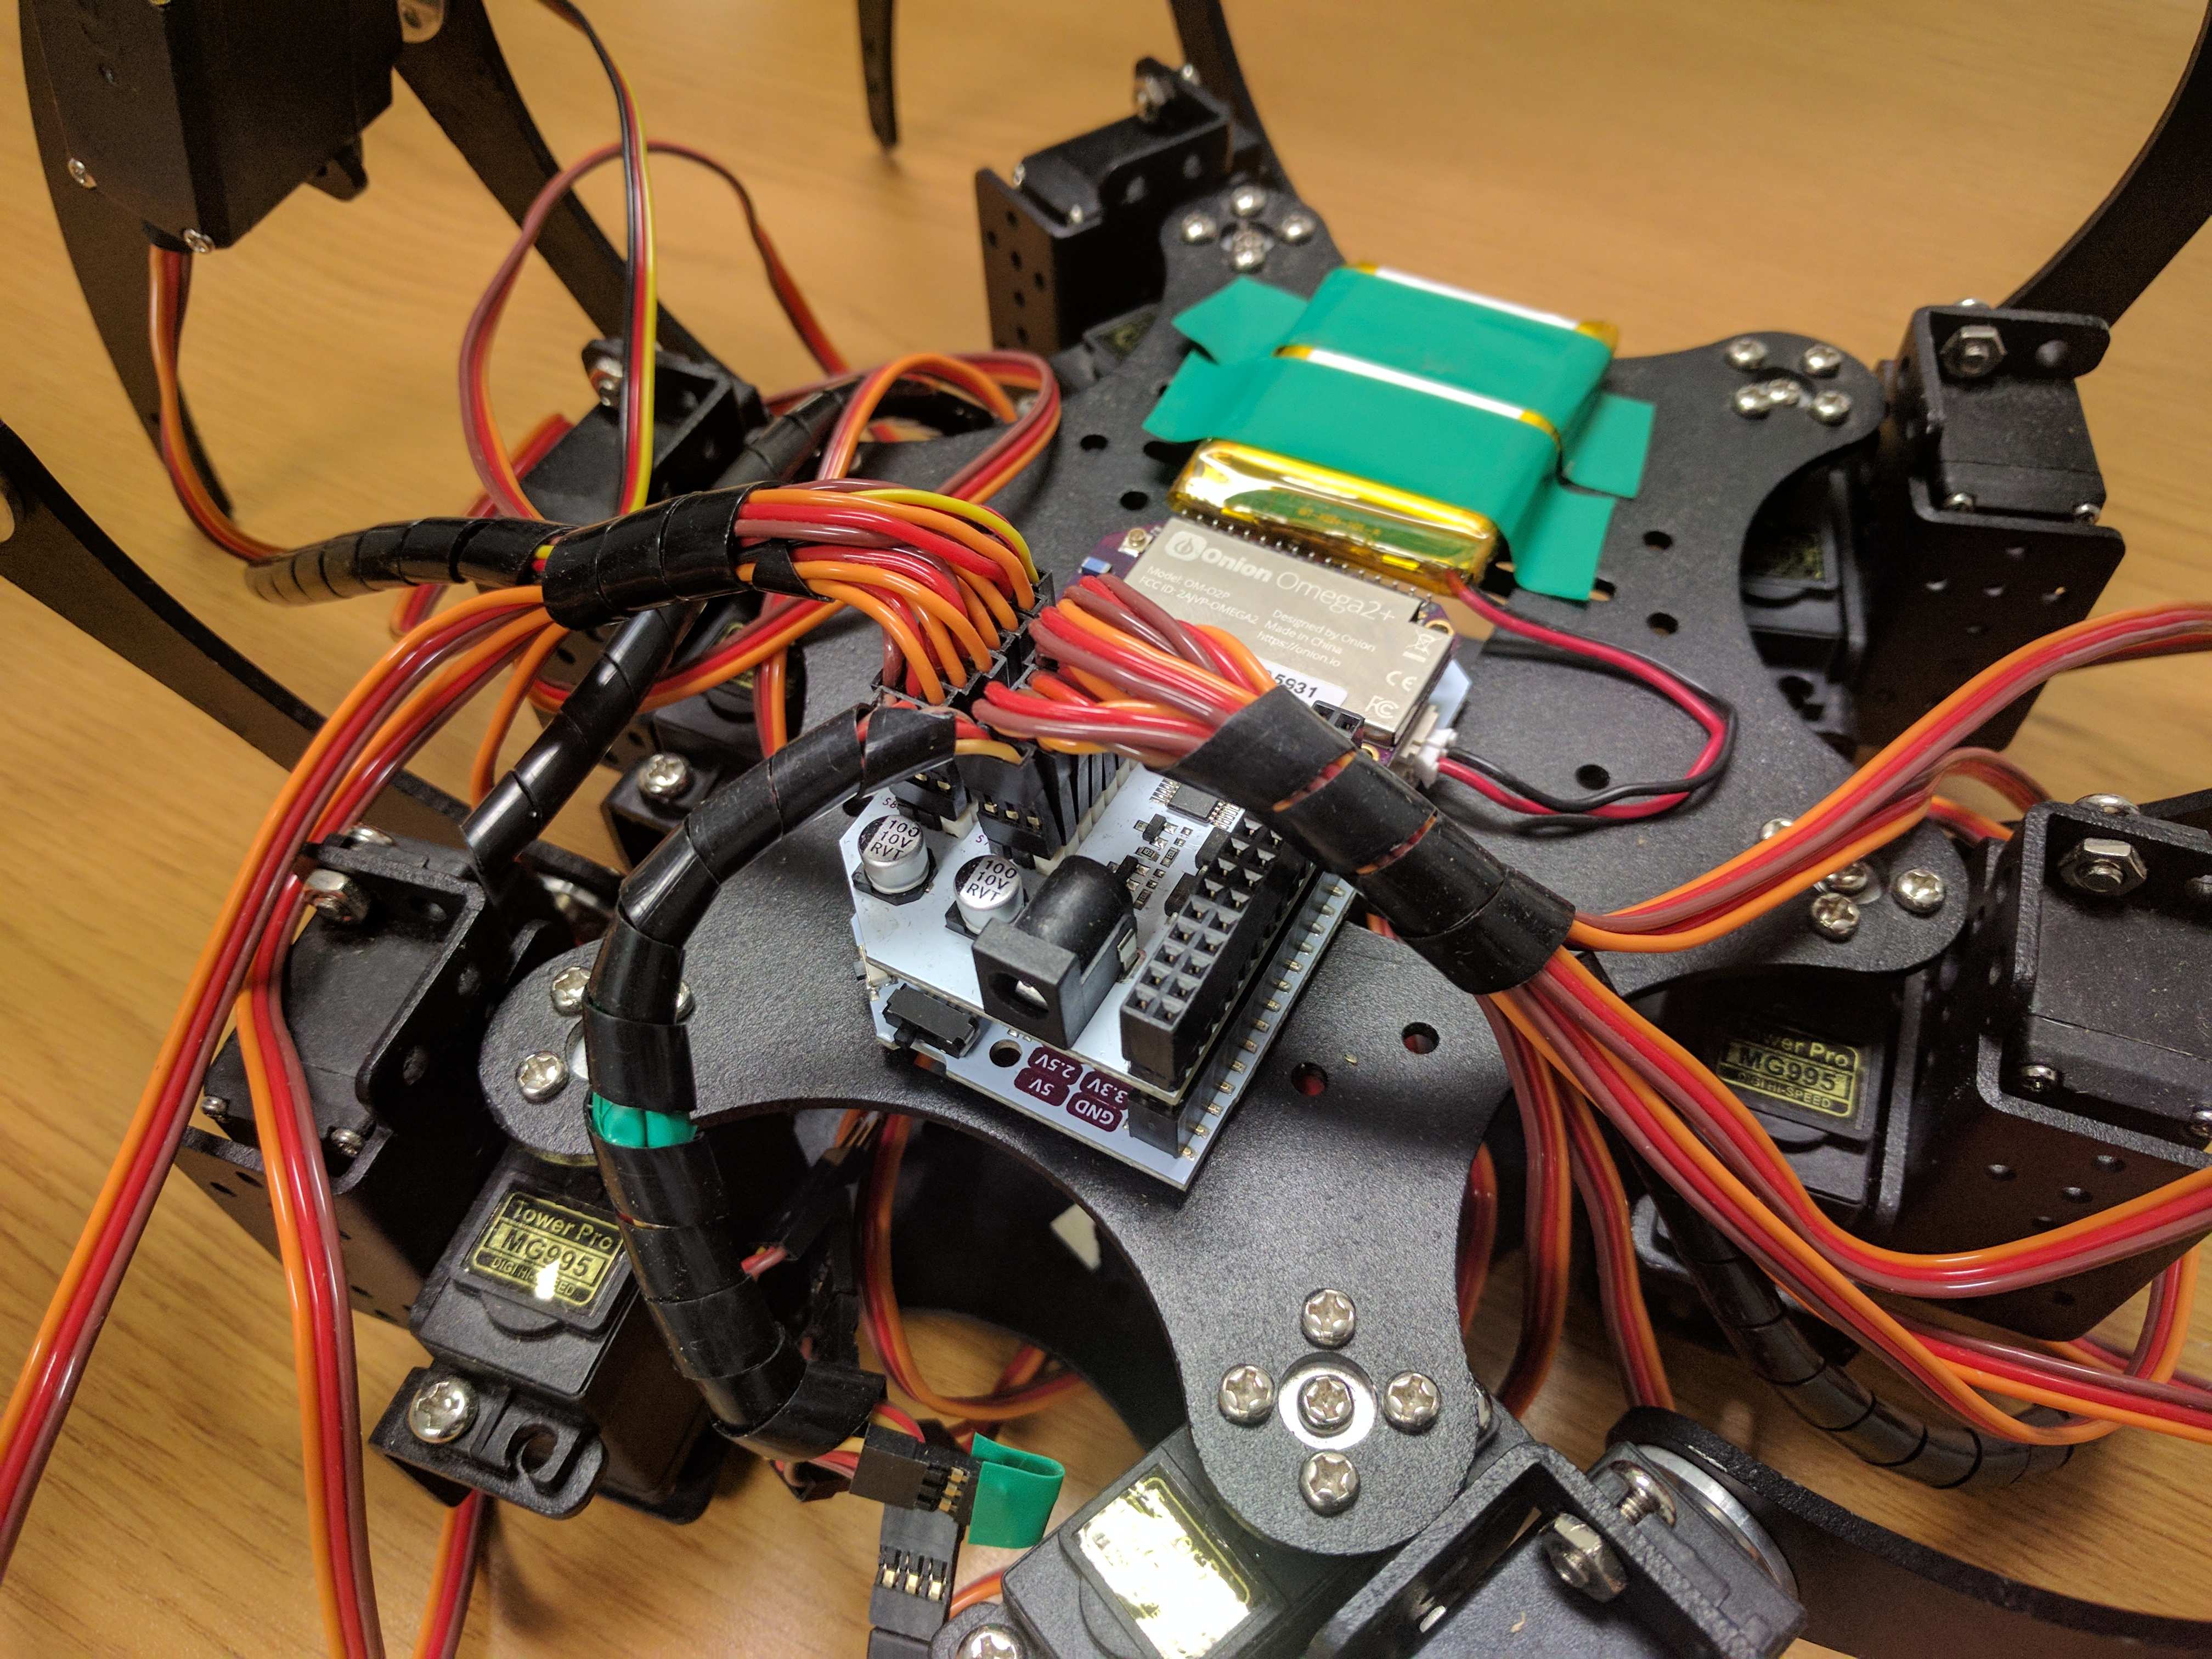
The Servo Expansion can generate up to 16 PWM signals and has really handy headers for directly connecting servos. With the Servo Expansion, you can connect up to 16 servos and control them with your Omega, opening the door to some awesome robotics and automation projects!
Connecting a Servo
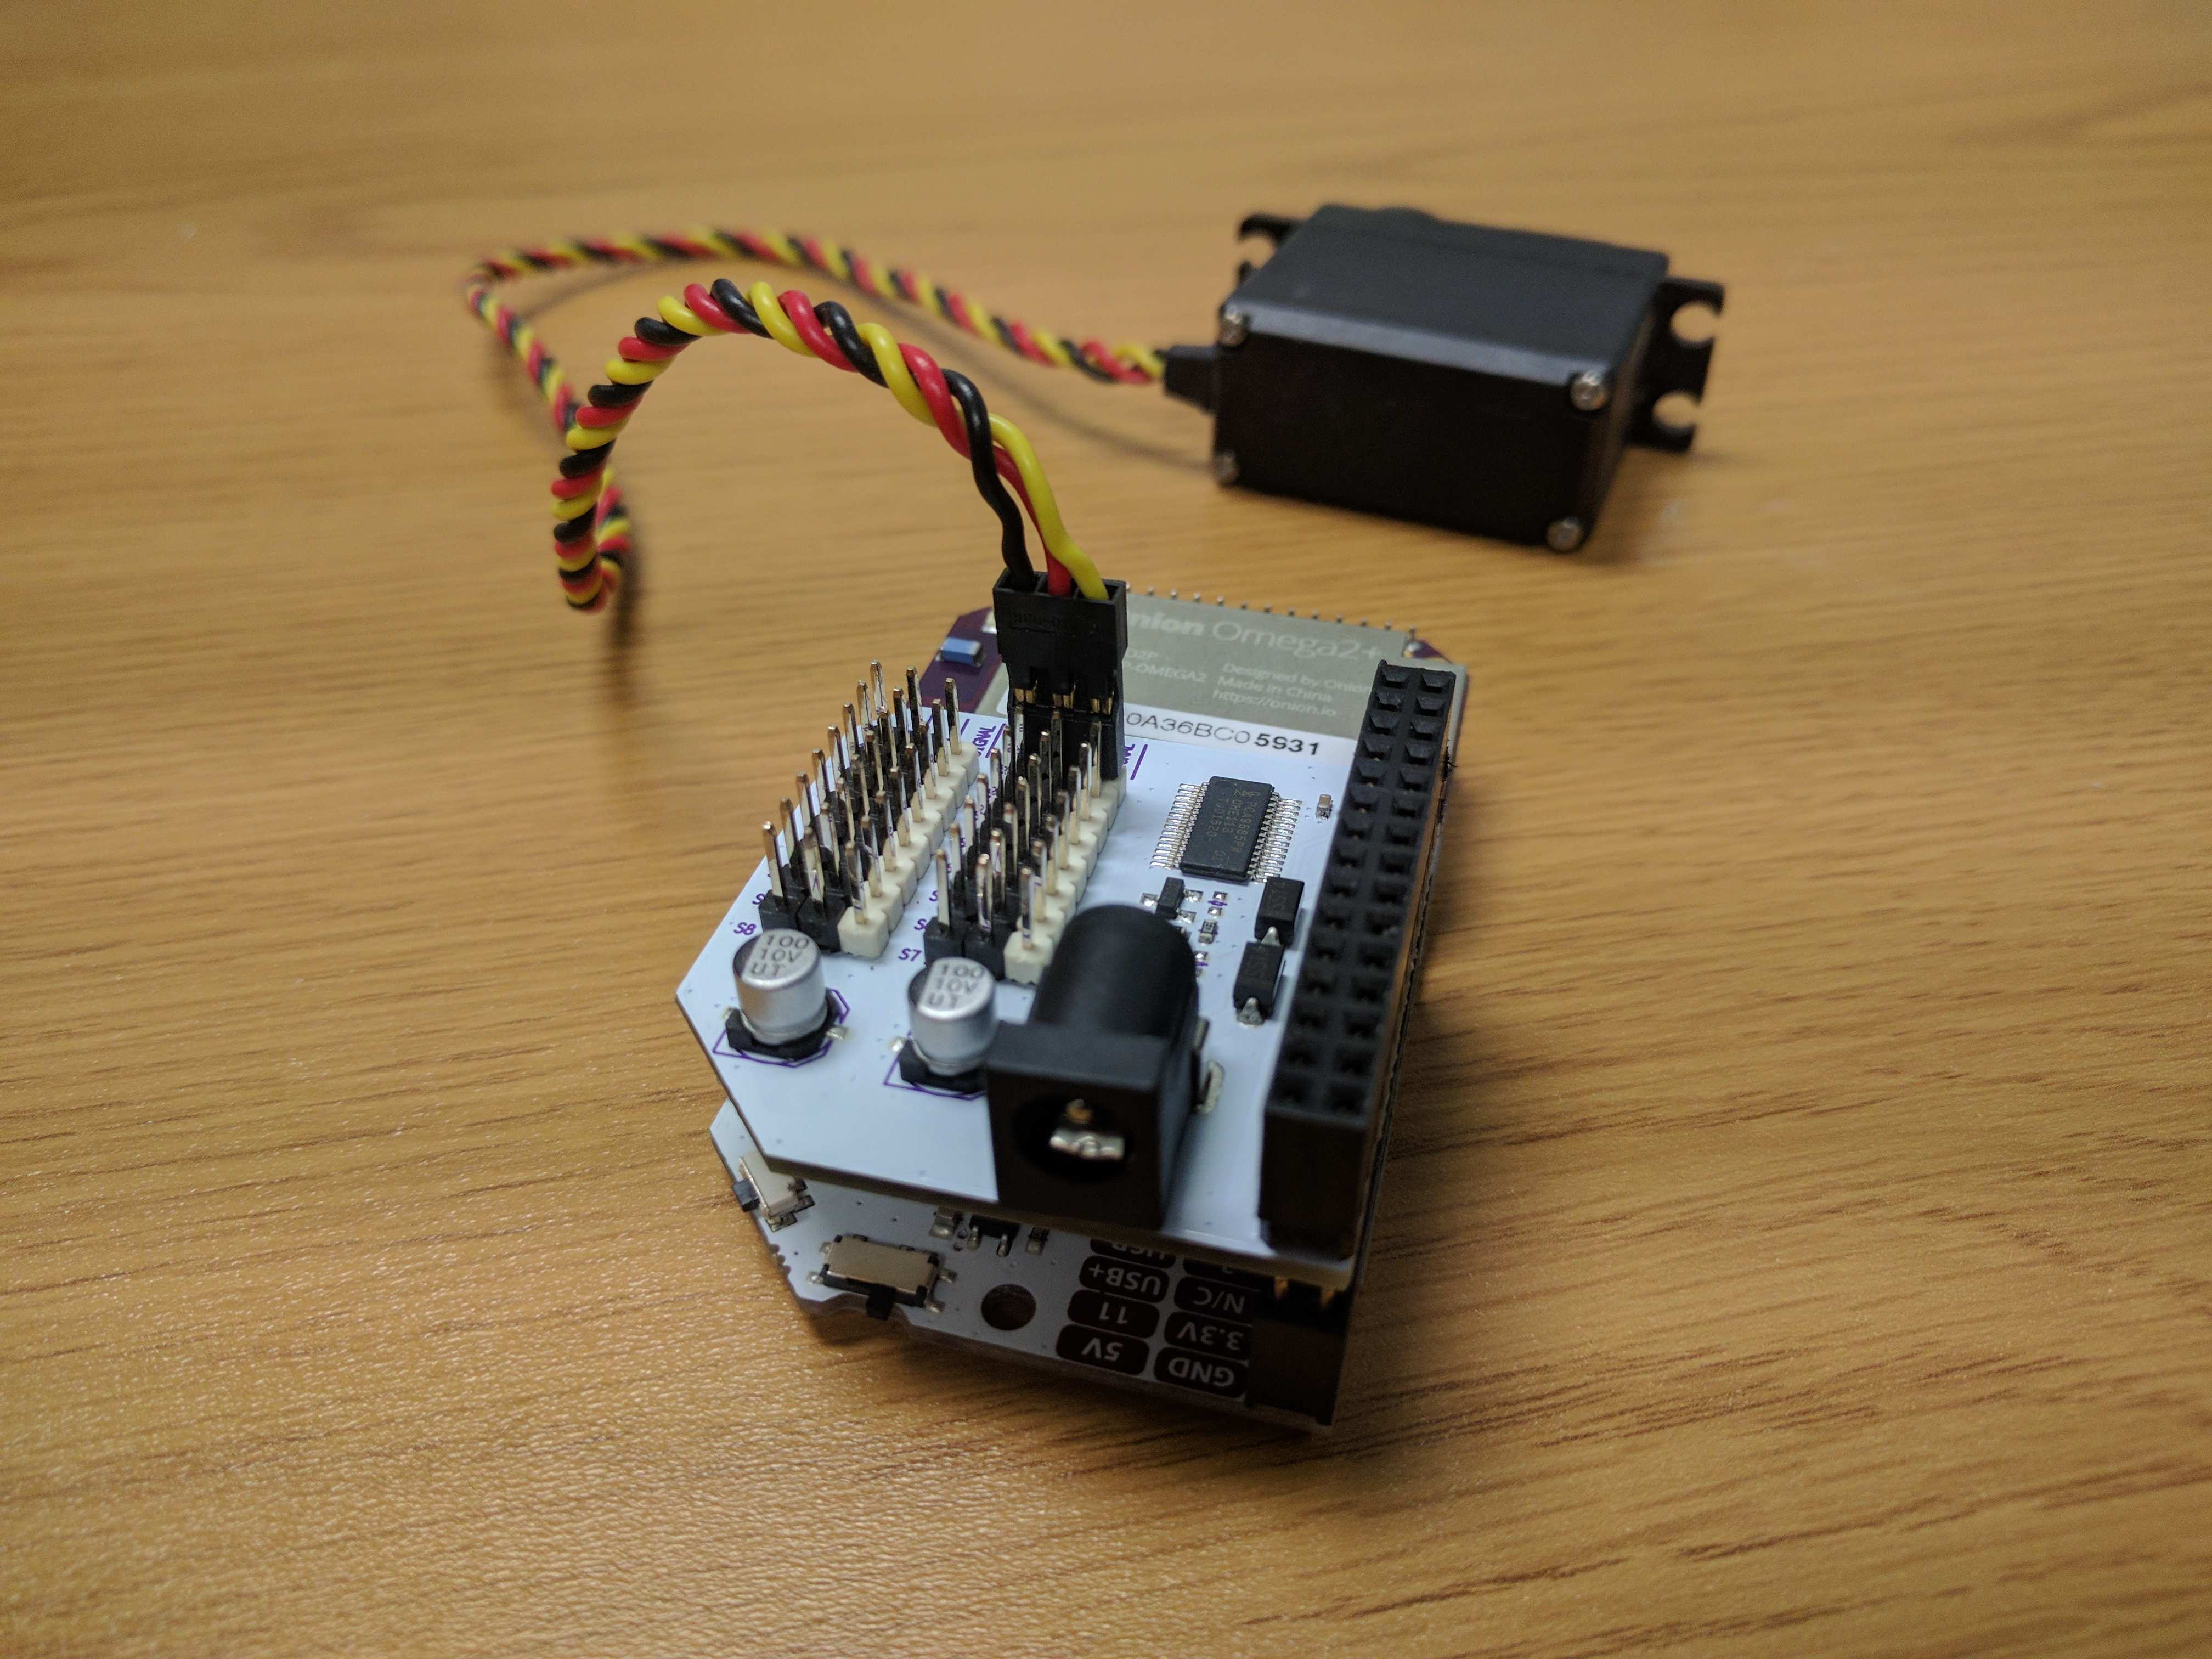
Once you’ve connected your Servo (PWM) Expansion into a Dock that has the Expansion Header (so the Expansion Dock, Power Dock, or Arduino Dock 2), you can plug your servos directly into the Expansion. Servos generally come with a three-pin female connector with the following:
- Ground, usually has a black or otherwise dark wire
- Power, usually a red wire
- Signal, usually yellow but can also be orange
When connecting the servo, make sure you’re plugging in the connector the right way. The Signal wire of the servo connector must plug into the Signal pin with the white header block on the Expansion. If you briefly connect the servo backwards, it likely won’t result in any permanent damage but you’ll notice that you won’t be able to control the servo at all!
You’ll notice the Servo Expansion also has a DC Barrel Jack. Servos are DC motors that do mechanical work, often times with a load, meaning that they require significant current to get the job done. If you’re using one or two servos with a low load, you can probably get away with powering the servos directly from the Omega. When using multiple servos under a load, we recommend supplying the servos with their own DC power supply through the barrel jack. This will give the servos the current they need to get the job done!
Servos & PWM Signals
Earlier we mentioned that the pulse width of a PWM signal controls the angle of a servo motor. Generally, servos manufacturers define pulse widths for:
- A minimum position (0˚)
- A neutral position (90˚)
- A maximum position (180˚)
For the visual learners out there:

It’s important to note that there is no “standard” pulse width definition, so you should check your servo’s datasheet to find the minimum, neutral, and maximum pulse widths as well as the signal frequency.
Moving a Servo from the Command Line
Now that you have some background on how servos work, it’s time to have some fun!
Let’s say we’re using the servo described by the diagram above, that it requires signals with a frequency of 50Hz (meaning a period of 20ms), and that we’ve connected it to Channel 0 on the Servo Expansion. We’ll be using the pwm-exp command to control a servo from the Omega’s command line
To set your servo to the minimum angle, run:
pwm-exp -p 0 1 20
Similarly:
- Set the servo to neutral :
pwm-exp -p 0 1.5 20 - Set the servo to the maximum:
pwm-exp -p 0 2 20
You’ll notice it’s the second argument that controls the angle of the servo! While this command may seem a little daunting, it’s actually quite a breeze:
pwm-expis the command line utility for controlling the Servo (PWM) Expansion- The
-pargument means the arguments we’re passing will define the pulse width and total period of the signal - The first numerical argument is the channel, in our case we are using Channel 0
- The second numerical argument is the pulse width (the duration of time the signal is “high” in ms)
- The final argument is the total period of the signal in ms, in our case it’s 20ms corresponding to our servo’s required 50Hz frequency
Alright! You now have a primer on how to connect servos and control them from the command line! Try it out yourself and then dazzle us with your servo-based projects!