Hey there!
Welcome back to 2-Bullet Tuesday, where we’ll share useful tips and awesome stuff sent in by Omega2 users all around the world. Check out creative projects and tutorials that will supercharge your IoT development!
Favorite Project
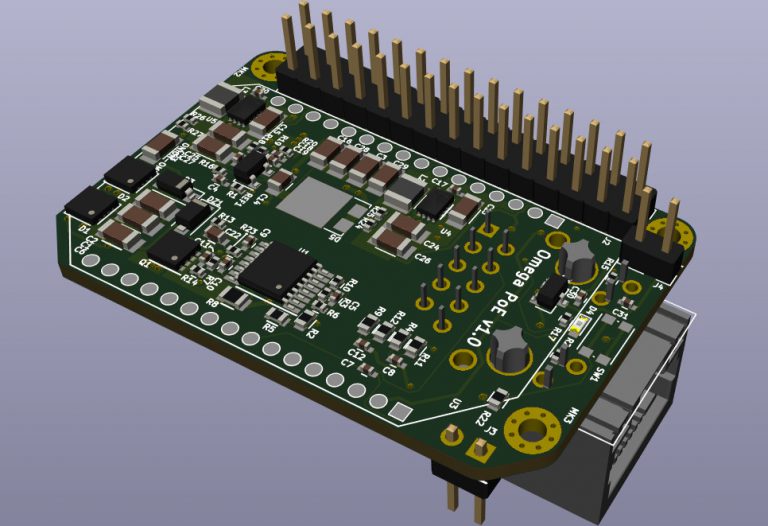
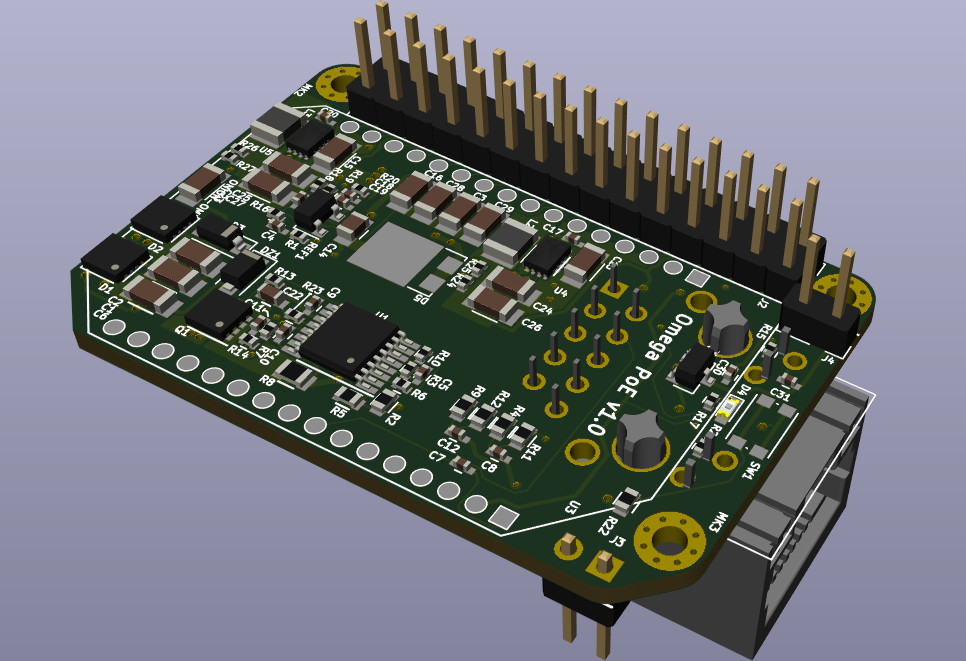
Our favorite project this week is a design for a small form-factor Omega2 Power-over-Ethernet enabled Dock. As hardware makers, we always get extra excited about hardware projects, and this one is no different!
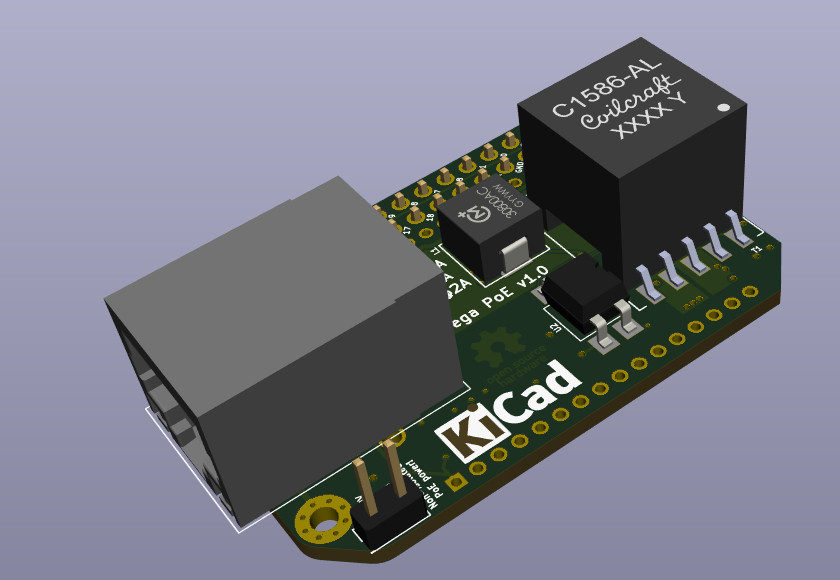
Designed in KiCad by Onion Community member, Scott G, the Dock features an Ethernet Port, the required PoE (Power Over Ethernet) circuitry, and an Expansion Header. Thanks to the PoE support, a standard network cable from a PoE enabled router can provide power and network connectivity. Scott plans to use this Dock to work with 12V LED strips so headers for 12V are broken out as well.
Great work, Scott, we can’t wait to see when this moves to the prototype stage!
Omega Tip
This week, we’ll be going further with the Servo Expansion by writing a Python script to control our servos! Remember how last week we could set pulse widths from the command line? Well now with the Python script, you’ll be able to specify the exact angle you want the servo to hold!
The script we write will set the servo’s angle based on interactive input from the user. Don’t worry we’ll break down the process and guide you through it:
- Install Python and the new modules
- Write our program
- Revel in the amazing program
So let’s hit it!
Installing everything
The hardware setup will be the same as last week (Omega2/2+, Dock with an Expansion Header, Servo (PWM) Expansion and a servo). Now let’s prepare our Omega, specifically we’ll update the list of available packages, install Python, and the latest Python module for the Servo Expansion:
opkg update
opkg install python-light pyPwmExp
opkg upgrade pyPwmExp
This installation will take a few minutes. And now we’ll be ready to write our code!
Writing the Python Script
Let’s write our script! We’ll make use of the Servo class from the new omegaMotors module! With this class we’ll be able to set an angle for the servo, and the class logic will take care of the pulse timing calculations for us. Let’s make a file called servoControl.py and populate it with the following:
from OmegaExpansion import omegaMotors
import time, sys

def main():
    # create a servo object from the omegaMotors module
    #    note: using default minimum (600us) and maximum (2400us) pulse widths
    #          you may have to change this depending on your servo!
    myServo = omegaMotors.Servo(0, omegaMotors.SERVO_MIN_PULSE, omegaMotors.SERVO_MAX_PULSE)
    errMsg = "Please enter an angle in the range of 0 to 180!"

    while True:
        #getting user input to set the angle
        try:
                angle = input("What is the angle? (0-180): ")
        except KeyboardInterrupt:
                # quit
                print("See you later!")
                sys.exit()
        except:
                print(errMsg)
                continue

        #if the entered angle is within the range, servo sets the correct angle
        if 0 <= angle <= 180:
                myServo.setAngle(angle)
                time.sleep(2)
        else:
                print(errMsg)

if __name__ == '__main__':
    main()
We first instantiate our very own Servo object. In the constructor, we pass three numbers:
- The Servo Expansion Channel that the object should control. We wired our servo to Channel 0
- The pulse width in microseconds for the minimum position of the servo
- The pulse width in microseconds for the maximum position of the servo
We used the default values that are part of the omegaMotors module, 600us and 2400us for min and max respectively. For your own use, you should look up these values in the datasheet of your specific servo.
For reference, most datasheets specify pulse widths in milliseconds (ms). To convert milliseconds to microseconds (us), just multiply by 1000
If you’re curious about the inner workings of the omegaMotors module, you can check out the source code on GitHub.
Running the Script
So let’s go ahead and check out our program! Make sure your servo is connected and run your program:
python servocontrol.py
And here is what you should see on the command line:
root@Omega-F195:~# python servoControl.py
What is the angle? (0-180):
Try entering a number and check out the servo immediately responding:
To exit the program, hit ctrl+c.
You can use this as a wireless panning option from the command line for a video camera or anything that needs the motion control, Servo will get your back as well as a new Webcam App to watch the stream!
Going Further
Now that you have a Python class to control a servo, you’re free to use Python to make all sorts of awesome robotics and automation projects. With a little bit of mechanical work, you can easily build on the code here to make a pan and tilt mount for a camera. Then you can control the pan and tilt from the command line, while using our Console Webcam App to watch the video stream!
Thanks for reading and have a great week!
P.S. Just a heads up, we’re going to be making some changes to 2-Bullet Tuesday in the coming weeks 🙂