The second bullet of this week’s 2-Bullet Tuesday! Check out the first bullet here. Subscribe to receive the newsletter on the 2-Bullet Tuesday page!
Omega Tip
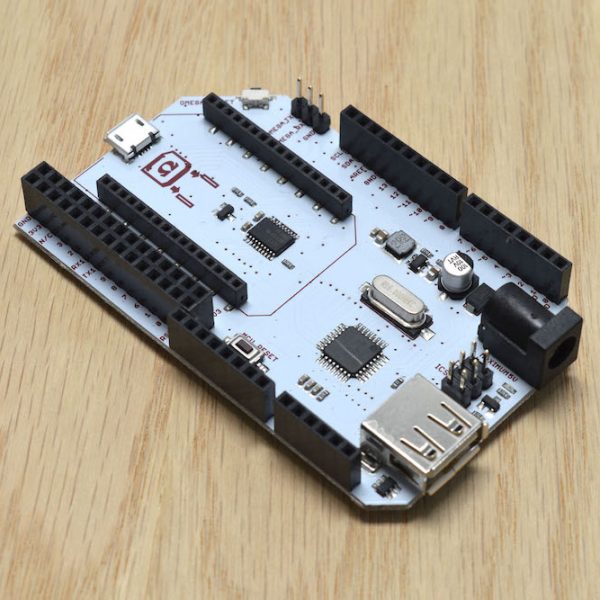
Flashing the Arduino Dock 2
This week’s tip will be a guide on how to flash your Arduino Dock wirelessly with Omega2, in other words, how to program the microcontroller on the Arduino Dock. In general, the Arduino Dock adds an ATmega microcontroller coprocessor to your Omega and provides an interface between the Omega2 and the microcontroller that allows you to turn any IoT project into a beast!
In the next steps we will guide you through the setup and actual flashing process but first, let’s ensure you are all geared up and ready to go! Firstly, let’s ensure that you are connected to the network and ssh’ed to your Omega. It is time to install our Arduino Dock software package using opkg. Enter the following two commands on your terminal:
opkg update
opkg install arduino-dock-2
In order to start programming, you will need to download and install the Arduino IDE software that corresponds to your operating system. Open the Arduino IDE and go to FIle -> Preferences. In the Additional Boards Manager URLs section near the bottom of the window, paste this URL and click OK:
https://github.com/OnionIoT/Onion-Arduino-Boards/raw/ master/IDE_Board_Manager/ package_onion.io_index.json

Our next step is to add Onion Arduino Dock 2 into the board selection. Go to Tools -> Boards -> Boards Manager…. In the search box, type “Onion” and hit Enter. There will be one selection that we need to install:

Click Install and then Close to return to the IDE. The editor downloaded the settings for our Arduino Dock 2 and made it available as a board in the Tools -> Boards Menu:

Now you are all set and ready to roll! What makes our board different from others is the possibility to flash sketches wirelessly! But hey, your Omega and computer have to be on the same network. We need to initialize the Omega in the IDE. Go to Tools -> Port -> Omega-XXXX at 192.168.X.X. If your device does not show up in the Port menu as a network port, restart the arduino and wait 30 seconds.

Get your sketch ready as your computer and the Arduino IDE need to compile it. When you are ready, hit the Upload button and your board will start compilation process. It will prompt you to enter your board’s password. Any guesses on what the default password is? Of course, onioneer, same as when logging on with SSH!

As you notice, we use a simple C program to control the LED. You may find the source code on our Arduino Dock Starter Kit Guide.When you hit Upload key, it will start actual compiling and will show you the whole process on the information screen:

In a nutshell, the IDE first compiles the program for the microcontroller and uses SSH to transfer the compiled hex file to the Omega. The Omega will then flash the ATmega microcontroller and viola! You have just successfully used the Omega2 to wirelessly flash a sketch to the Arduino Dock 2! Microcontrollers retain the last sketch with which they were flashed, so it will start running the sketch as soon as it boots up, without any intervention on your end. Happy hacking!
Thanks for reading & have a great week!
Let us know what kind of stuff you would like to see featured on 2-Bullet Tuesday! Send a tweet to @OnionIoT with your suggestions!
P.S. Our Oboo Smart Clock KickStarter campaign ends in just 11 days!


© 2017 Onion Corporation