Hardware Setup
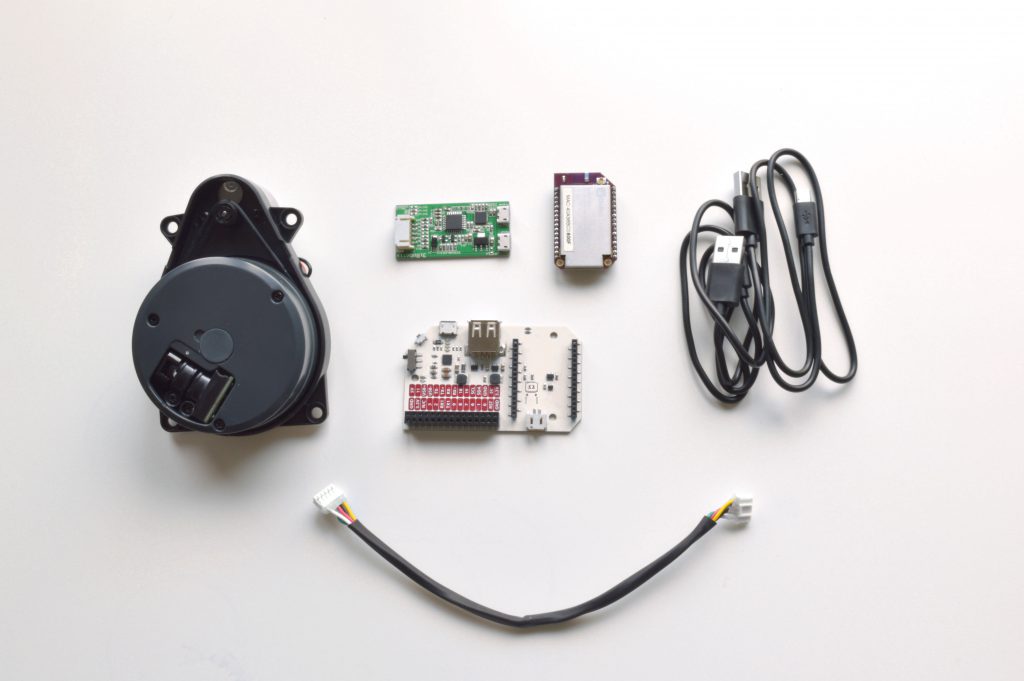
Setting up your LiDAR Kit is a breeze.
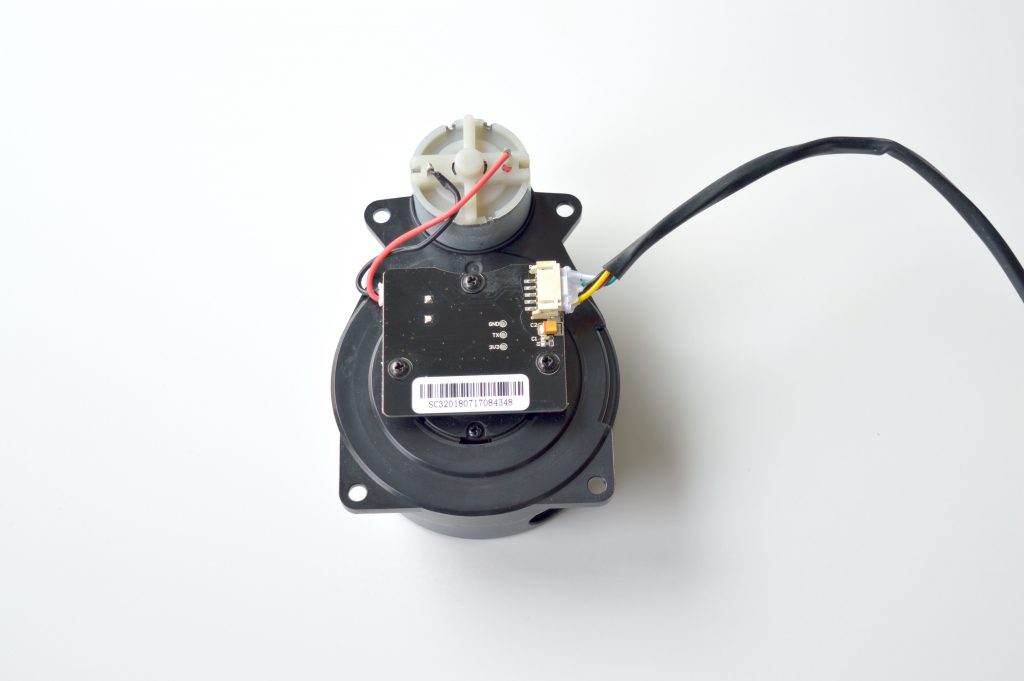
We’ll first grab the 360˚ LiDAR scanner, pictured below:
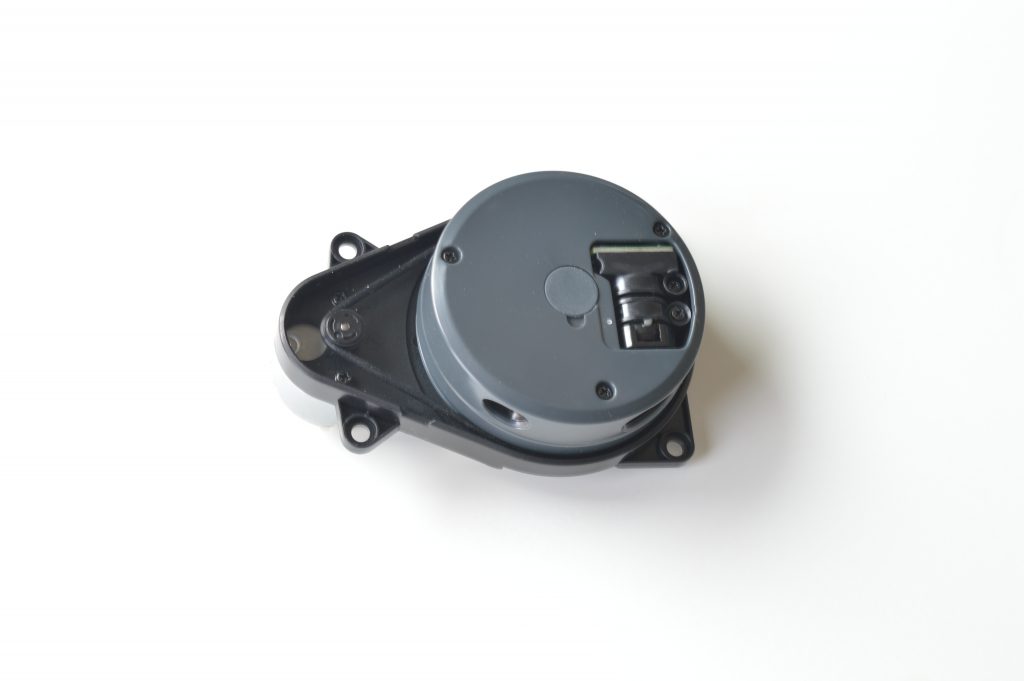
And connect it to the LiDAR control board
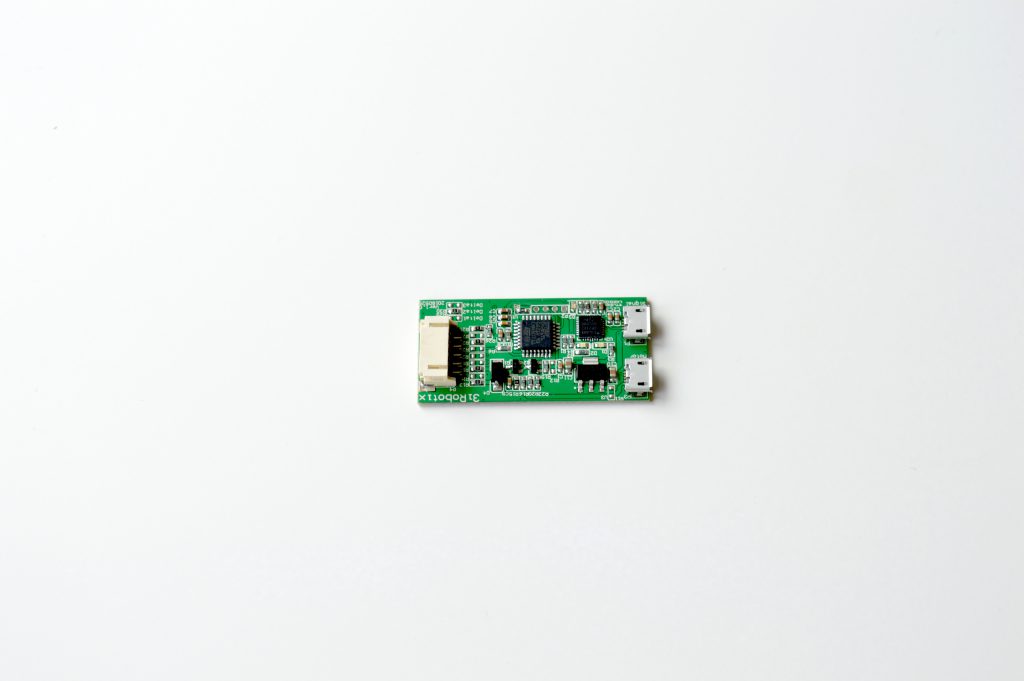
Flip the scanner over and connect it to the control board using the included 5-pin cable:
The LiDAR control board should then be connected to the Omega2 and Power Dock 2 with a MicroUSB cable. Make sure that the MicroUSB cable is connected to the top port of the LiDAR control board.
For a full overview of how to connect the Omega2 to the Power Dock 2, see this guide.
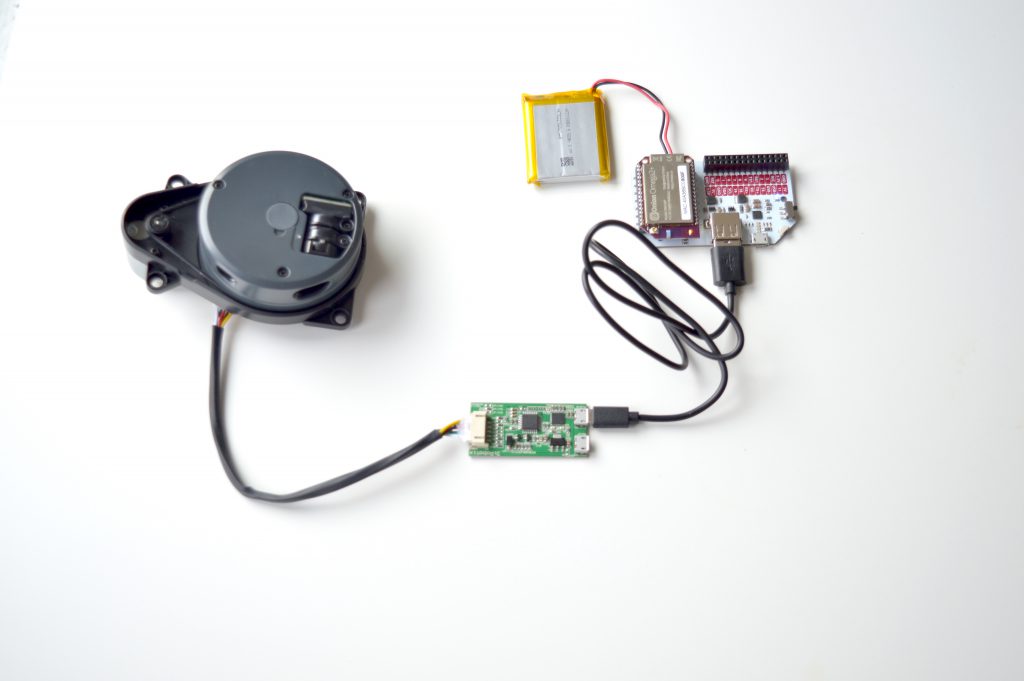
* LiPo battery not included
Then connect a power source to the bottom USB port of the LiDAR control board. In our case, we used a portable USB battery to make the kit 100% mobile.
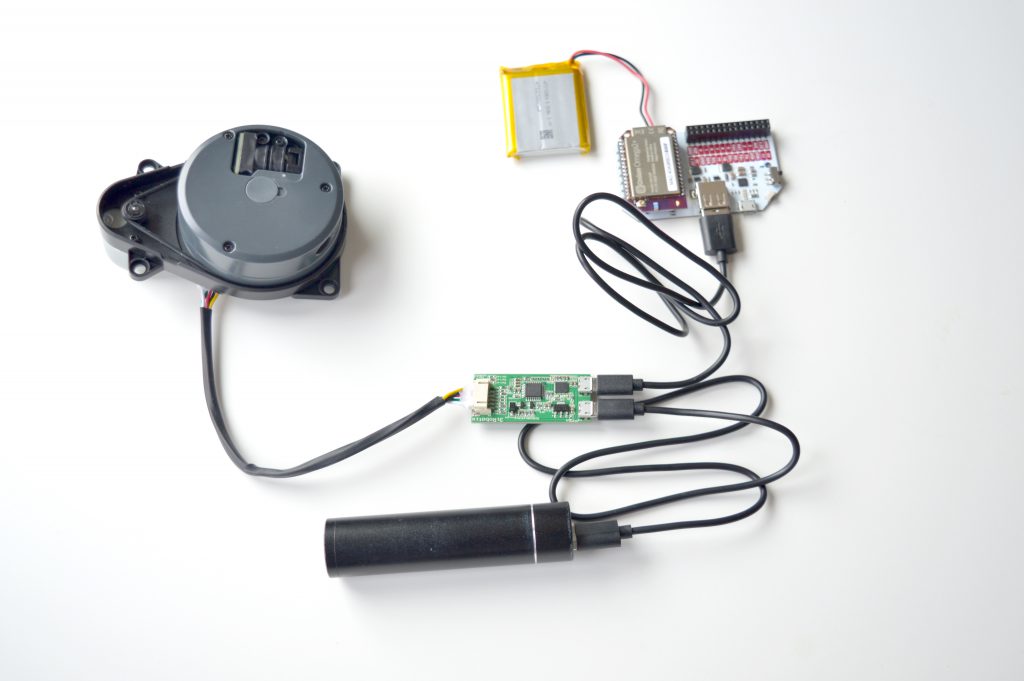
* LiPo battery and USB battery not included
See below for a full demonstration of the hardware setup process:

Software Setup
You will need to perform some setup on your computer as well as the Omega.On your Computer
You’ll need to:- Install the VirtualHere USB Client
- Install the CP2102 USB to Serial driver
- Download the Delta2B LiDAR Visualization Software
VirtualHere USB Client
First, install the VirtualHere USB Client. VirtualHere USB Client is an intuitive and easy to use program that can run on any computer using an untethered wireless device such as Onion’s LiDAR unit. VirtualHere USB Client is compatible with Windows, OSX, and Linux. Installation is easy, simply click the link below, save the downloaded file to desktop, and run. More information can be found on VirtualHere USB Client guide.- Windows: https://www.virtualhere.com/sites/default/files/usbclient/vhui64.exe
- Mac OS X: https://www.virtualhere.com/sites/default/files/usbclient/VirtualHere.dmg
- Linux: https://www.virtualhere.com/sites/default/files/usbclient/vhuit64
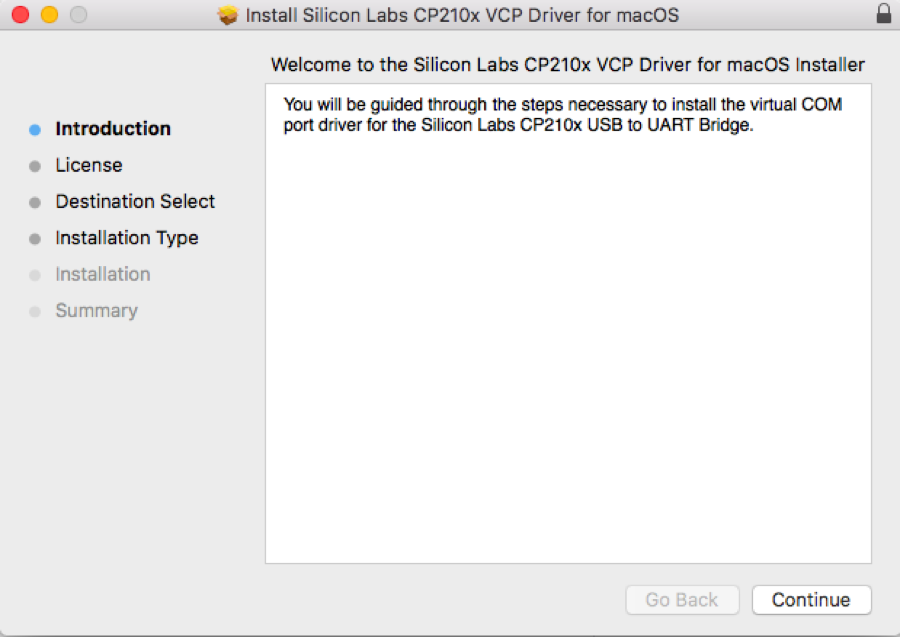
CP2102 USB to Serial Driver
Secondly, you need to install the CP2102 USB to Serial driver, which facilitates the USB communication between your LiDAR unit and your workstation. Download and install the driver:- Windows: https://www.silabs.com/Support%20Documents/Software/CP210x_VCP_Windows.zip
- Mac OS X: https://www.silabs.com/documents/public/software/Mac_OSX_VCP_Driver.zip
- Linux: https://www.silabs.com/documents/login/software/Linux_3.x.x_4.x.x_VCP_Driver_Source.zip
LiDAR Visualization Software
Download the complementary LiDAR visualization software for Windows from GitHub:On your Omega2+
To start, you’ll need to connect the Omega to your WiFi network and update it to the latest available firmware. Follow our Omega2 first time setup guide for all of the steps in detail. If you run into any issues, try doing the first time setup using the command line. Then, install the Virtual Here Server by running the following command:wget -O - https://raw.githubusercontent.com/OnionIoT/omega2-lidar-kit/master/scripts/autoSetup.sh | sh
How to Use the Kit
Great work, you’re nearly there. To get started, make sure your hardware is setup correctly, the Omega2 is powered on, and the LiDAR scanner is activated:
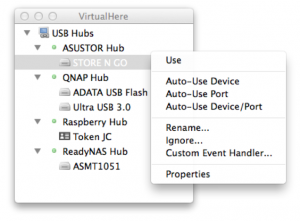
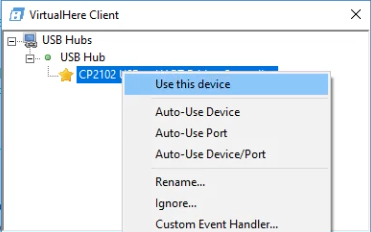
Next, wirelessly connect the LiDAR to the computer through the VirtualHere software that you downloaded earlier.
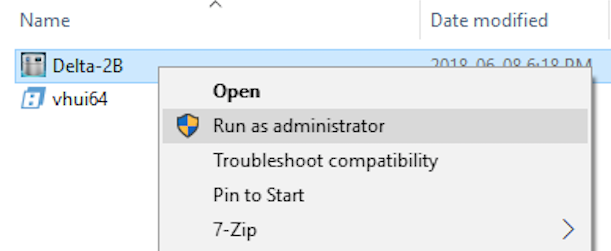
Then we’ll want to fire up the visualization software. Find the executable and run it as an administrator:
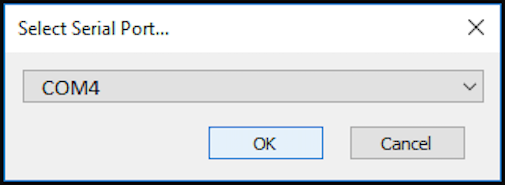
When the software starts, it will prompt you to select a serial port. Select the serial port that corresponds to the VirtualHere USB device
Press the Start Scanning button:
And you’re up and running! The software will display the distance measurements acquired by the LiDAR kit in real time:
