Omega Tip
Learn how to secure traffic to and from the Omega’s web server with HTTPS! Comes in handy if you’re collecting sensitive information from users or running a captive portal.
This week we are going to guide you through securing the Omega’s web server with HTTPS As you may know, the Omega2 comes with the uHTTPd web server preinstalled. By default, this web server hosts the Setup Wizard and OnionOS, but only uses HTTP. By adding HTTPS to the Omega’s web server, we’ll be encrypting all of the traffic between the server and any clients. This is the way to go if users are entering any sort of sensitive or personal data on the Omega’s web page.
We’ll install an SSL application to generate a self-signed certificate for our web server, and apply HTTPS to secure communication on your Omega2.
The Details:
First of all, what is HTTPS? It is an abbreviation that stands for Hypertext Transfer Protocol Secure. HTTPS provides security by encrypting all of the traffic between the web server and the web browser of users accessing the site. This encryption is done with a certificate hosted by the web server. In a nutshell, when a web browser attempts to connect to an HTTPS secured site, the server hosting the site will send the public portion of the certificate to the browser, the browser will encrypt all traffic to the server with this certificate, meaning only the web server (that holds the private portion of the certificate) will be able to decrypt and read the data. There’s lots more to the story, but for our purposes that’s enough to get started!
According to the /etc/config/uhttpd configuration file, Omega listens to both port 80 and 443 (port 80 is HTTP and 443 is HTTPS). By default, the Omega does not come with SSL certificate, so it can only be accessed through HTTP. That’s not generally a big deal, but in the case of the Omega, anybody with the right skillset that’s on the same network will be able to see all of the traffic between you and your Omega.
So let’s work towards establishing a secure HTTP connection. We’ll start by creating self-signed certificate and a public key. You may ask, why can’t I just type https://omega-XXXX.local and just access the Omega?! Well, you can try, but that will most likely fail. For sites that are available on the internet, certificates used for HTTPS are generated and signed by Trusted Certificate Authorities, that, in addition to securing the communication, identify the party that requested the certificate, providing another layer of security.
So, a self-signed certificate is signed by the user rather than a trusted certificate authority that will most likely charge you for usage. For our purposes, a self-signed certificate will work since we’re using the certificate for encryption and not so much verification of our own identity!
Software Installation
In order to generate a self-signed SSL certificate, we’ll install an SSL utility and the px5g-standalone utility that generates self-signed X.509 certificates (a standard that defines the format of public key certificates). But first, let’s enable the LEDE package repos. Open /etc/opkg/distfeeds.conf and un-comment the second line, which holds:
src/gz reboot_base http://downloads.lede-project.org/releases/17.01-SNAPSHOT/packages/mipsel_24kc/base
And then issue the following on the command line:
opkg update
opkg install px5g-standalone libustream-openssl
Generating RSA Private Key and Self-Signed Certificate
Now, let’s go ahead and generate an RSA Private Key and a self-signed certificate. We’ll use this pair of keys to encrypt our web server traffic via SSL.
By default, the uhttpd server is configured to support HTTPS, now that we’ve installed the required tools, it will automatically generate a self-signed certificate for us.
All you have to do is restart the server:
/etc/init.d/uhttpd restart
And you’ll be presented with something similar to the following:
4+0 records in
4+0 records out
Generating RSA private key, 2048 bit long modulus
Generating selfsigned certificate with subject 'C=ZZ,ST=Somewhere,L=Unknown,O=LEDE4091a0fa,CN=LEDE,' and validity 20180420182441-20200419182441
Testing the Connection
As you can see, the RSA key and self-signed certificate have been generated, so we’re all set to go! Navigate to your browser and enter the following in the search box :
https://omega-XXXX.local
Where XXXX are last 4 digits of your Omega’s MAC address.
You will see the following warning:
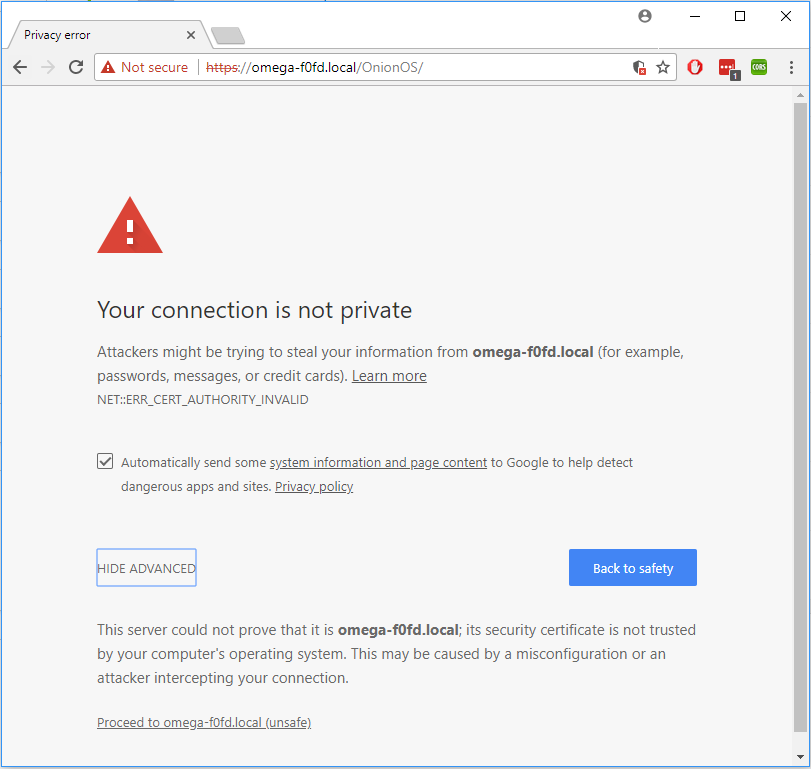
This warning shows up since you’re using your own self-signed certificate. In our case, this is not an issue since we know our certificate is self-signed, but if you see this on a website on the internet definitely think twice before proceeding! Just Click on Advanced button and click on Proceed to omega-XXXX.local (unsafe) (where XXXX are last 4 digits of your omega’s MAC address).
So here we are:
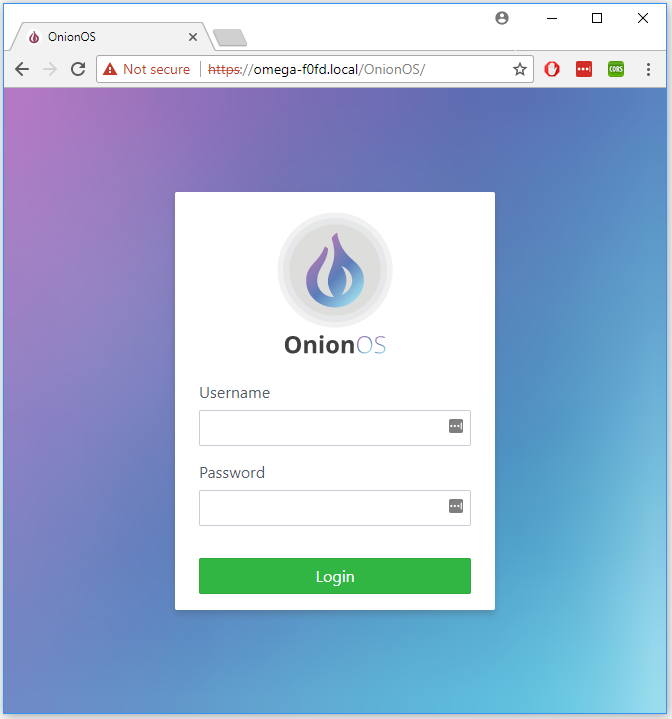
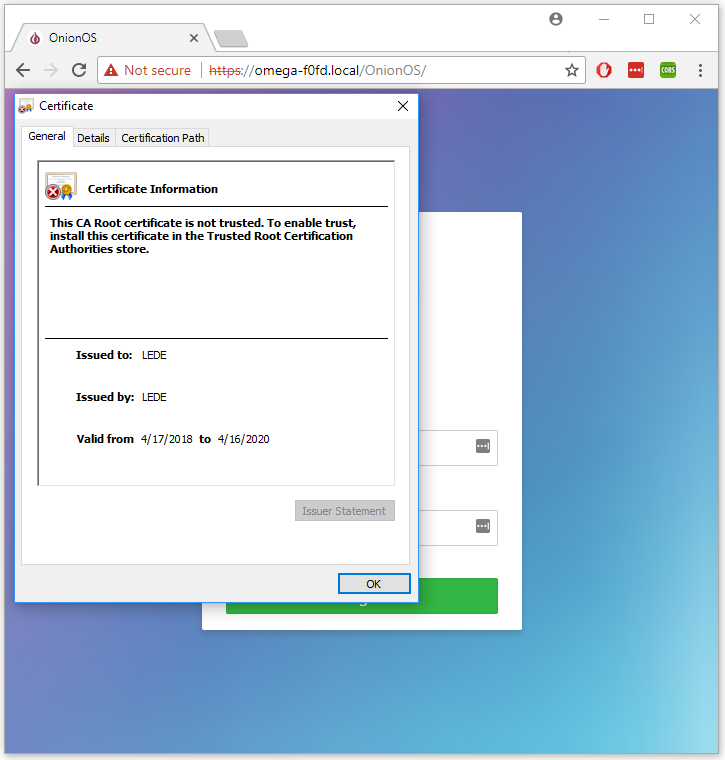
In order to check the certificate details, click on the Not secure button next to the Reload and under the certificate click on valid and here’s what you will see:
Oh, one last thing, if you’ve followed all the instructions carefully and are still unable to access your Omega, flush the browser’s cache!
An important note: OnionOS isn’t 100% ready for use with HTTPS and it’s likely that you will not be able to login. This functionality will come in a future update. However, this article is still useful if you’re running other things on the Omega’s web-server and would like to secure it with HTTPS.
Going Further
Now, your connection is secured by you! We’ve learned how to generate a self-signed certificate and configure the Omega’s web server to use this certificate to implement HTTPS. Now all traffic between your Omega’s web server and users is encrypted and safe!
Thanks for reading, have a great week!